Rulers for marking Go boards
Background
A friend of mine is in charge of a youth group. He wants to teach the young people the board game “Go” at a upcoming youth camp. He would like to make several Go boards together with the young people themselves.
Project
Initially we wanted to engrave small Go boards for beginners on the CNC milling machine. Since my acquaintance however wanted large Go boards in the normal tournament size of 19×19, another solution had to be found, because such large Go boards cannot be machined by the CNC machine, because the working range of the CNC milling machine is too small. After we had thought through different variants, we thought about making templates instead, with which you can precisely mark the markings on a go-board.
Durchführung
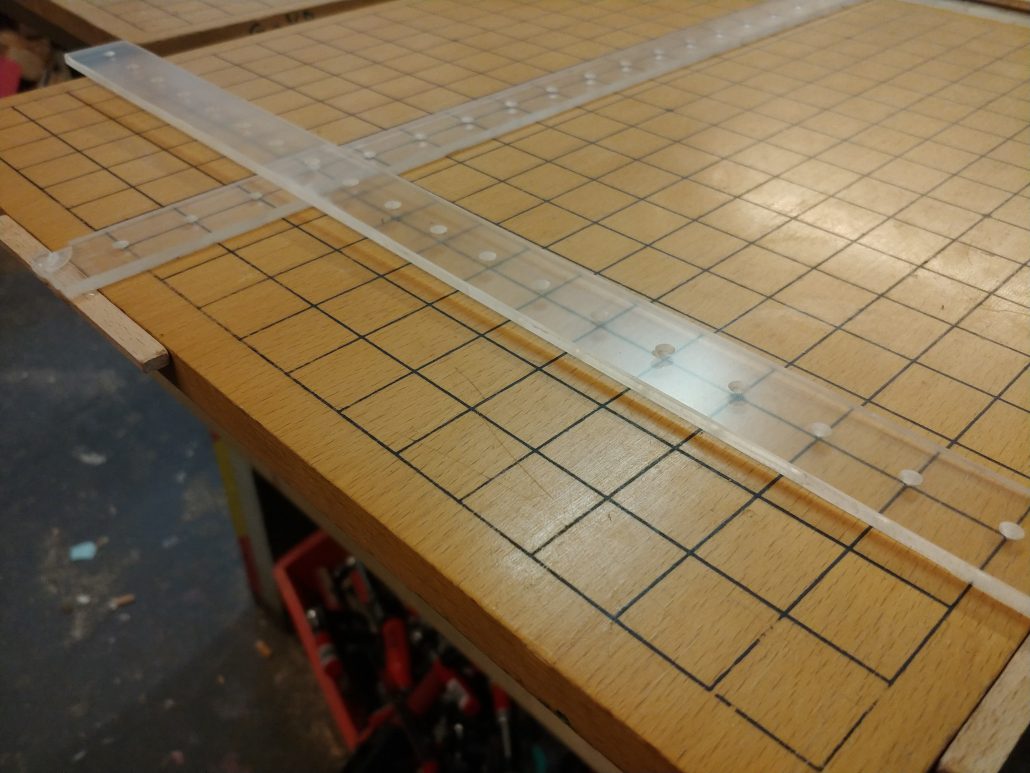
As material we chose 4mm acrylic glass, because transparent rulers have the advantage that you can see more exactly where to place the ruler. With a 60° engraving tool the CNC milling machine milled conical recesses into the acrylic glass at the precise distance of the lines on a go-board.
However, the rectangular lines do not form squares, only rectangles. In one direction a go-board is longer than in the other direction, Wikipedia adds to this:
The Go board (generally referred to by its Japanese name goban 碁盤) typically measures between 45 and 48 cm (18 and 19 in) in length (from one player’s side to the other) and 42 to 44 cm (~17in) in width. Chinese boards are slightly larger, as a traditional Chinese Go stone is slightly larger to match. The board is not square; there is a 15:14 ratio in length to width, because with a perfectly square board, from the player’s viewing angle the perspective creates a foreshortening of the board. The added length compensates for this.

Accordingly it was necessary to make two rulers – one with 455mm length and the other with 424mm length. The distance between the markings on the board and the edge of the board corresponds to the distance between the outer edge of the ruler and the recesses of the other ruler, so that the equally uneven distances on the outer edge of the board can also be accurately reproduced.
After milling the conical recesses, I milled out the outer shape of the rulers in the right size with a 6mm milling cutter, but left small bridges so that the workpiece does not break free in the last moments of the milling process. I then sawed through these small bridges with a scroll saw and ground the remaining burrs and the remains of the bridges flat with a stationary belt grinder.
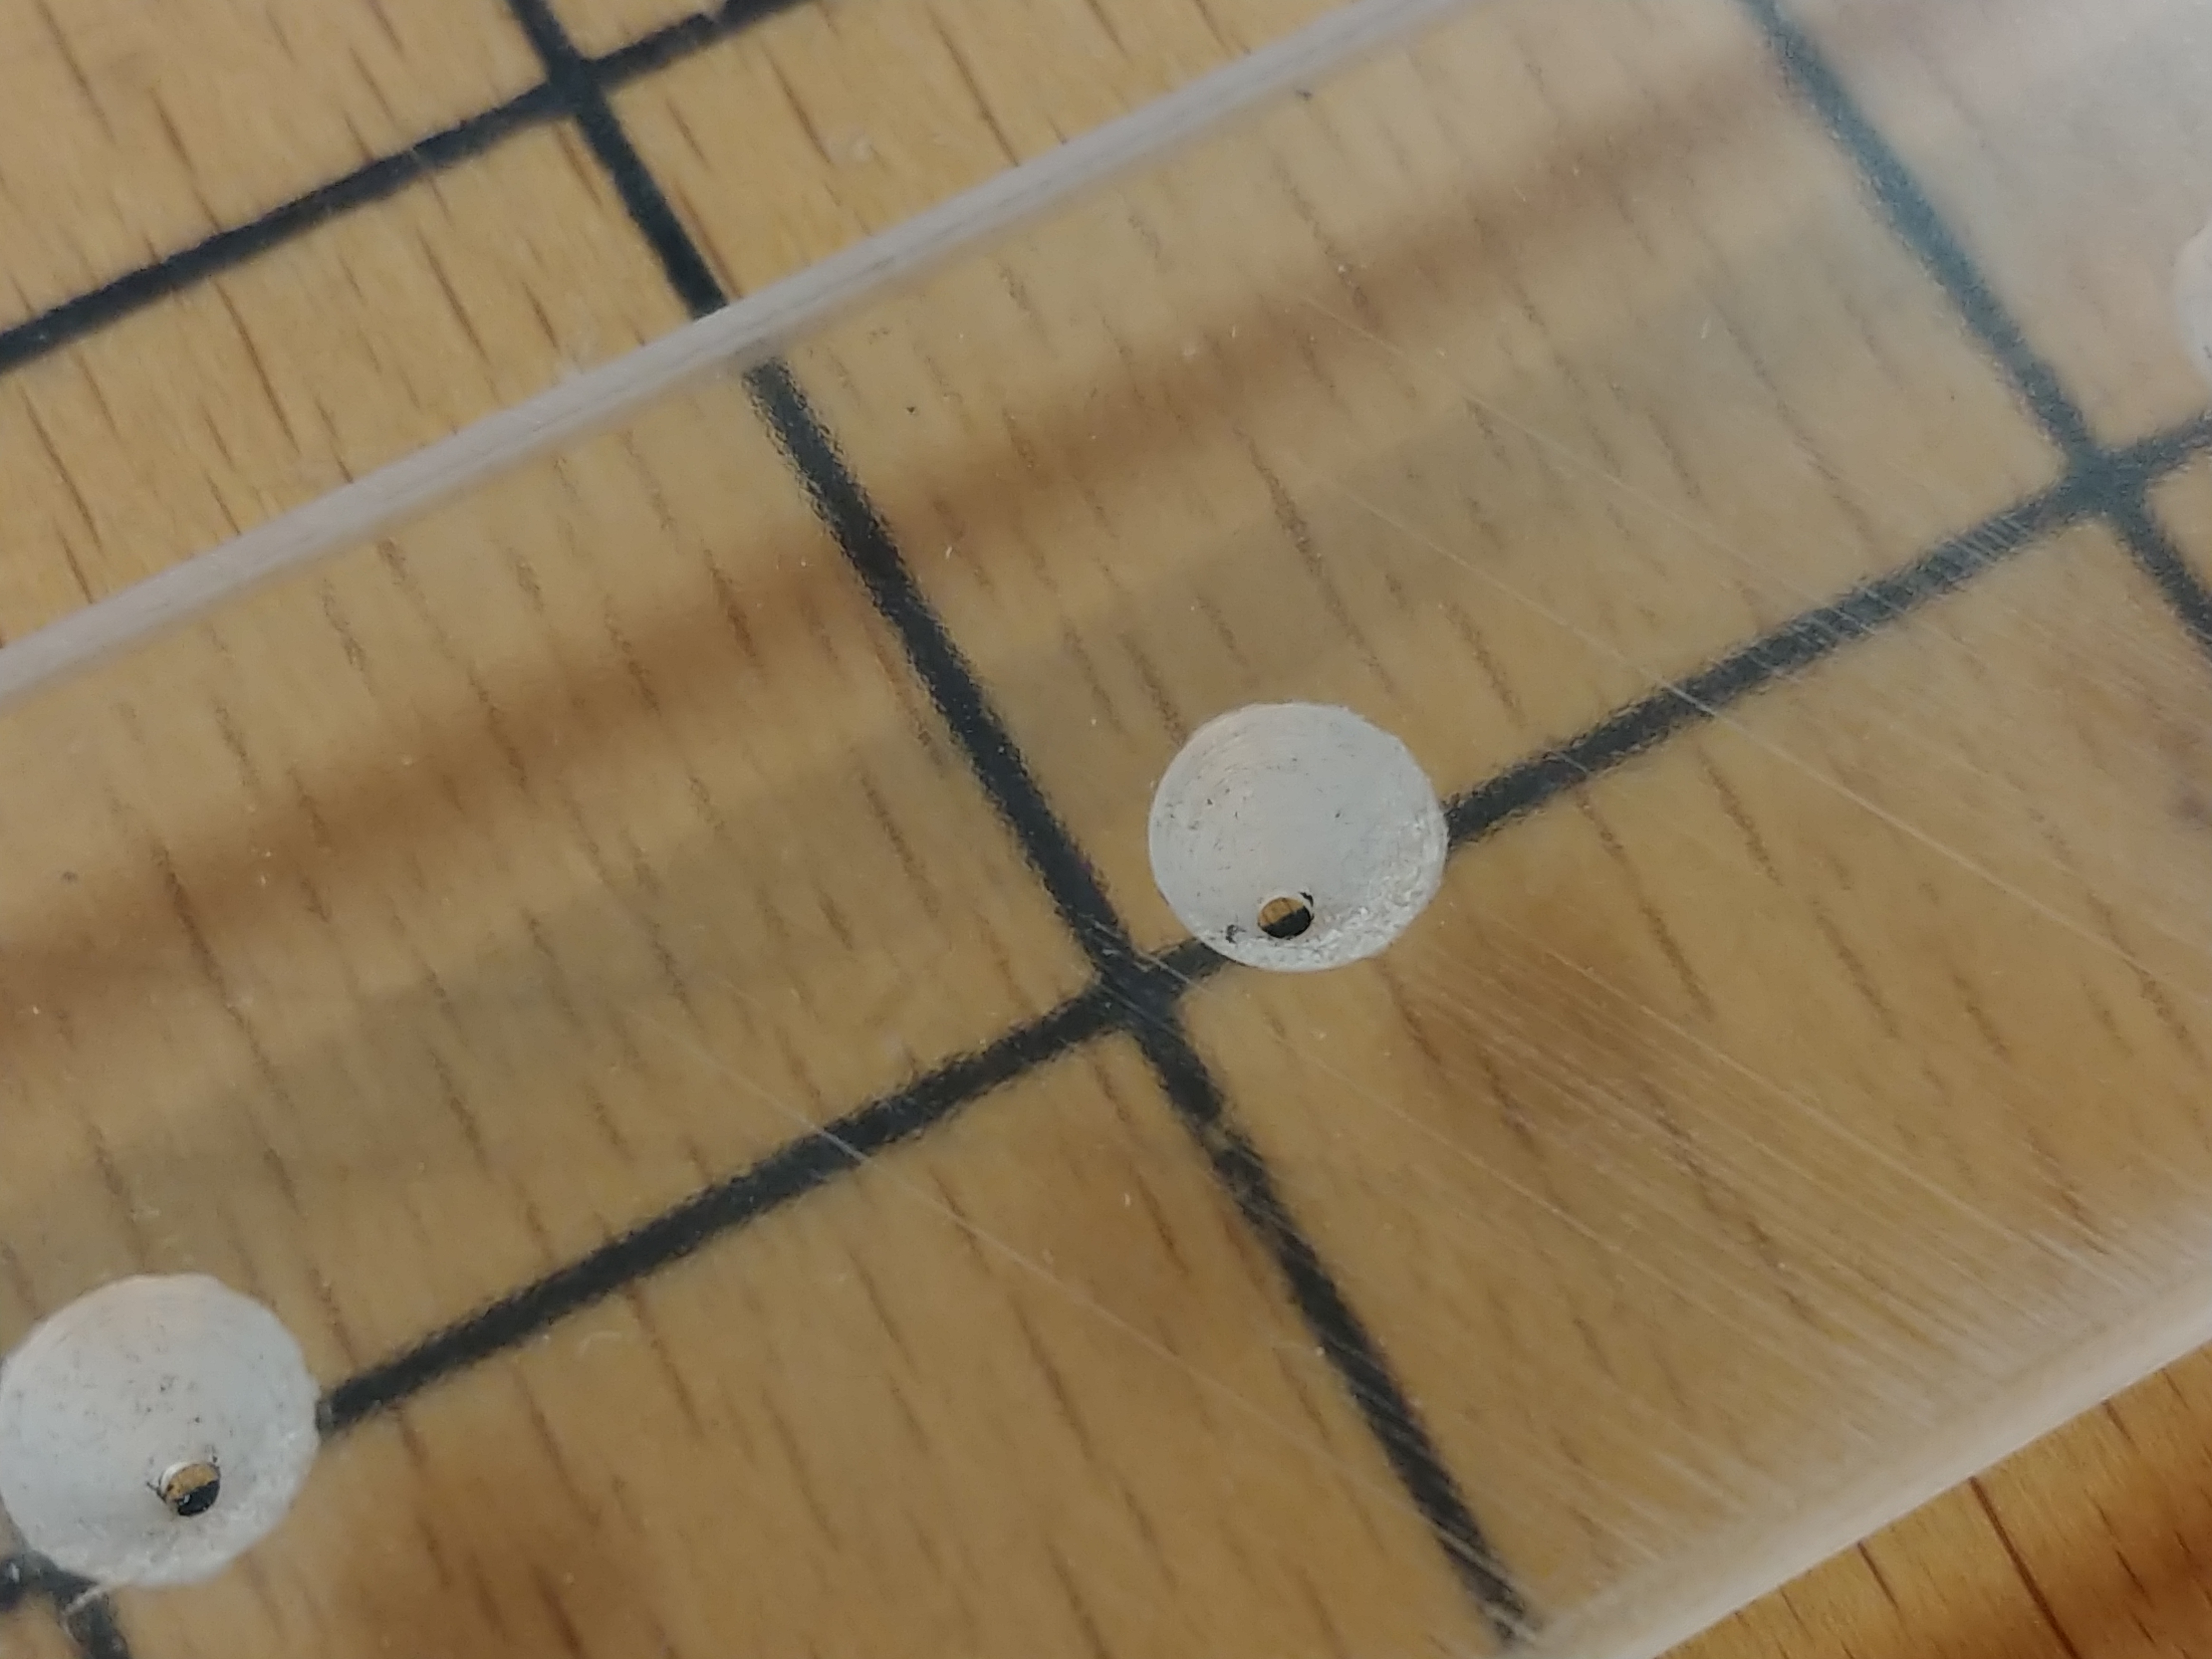 The conical recesses were not completely brought to the target depth by the CNC milling machine, this was only a precautionary measure on my part. Accordingly, after CNC milling, I used a drill to bring the conical recesses to the required depth, so that tiny holes were made in the other side. I then widened these with a 1mm drill to create a hole just enough for a normal pencil, but no further play of the pencil in the hole allowed.
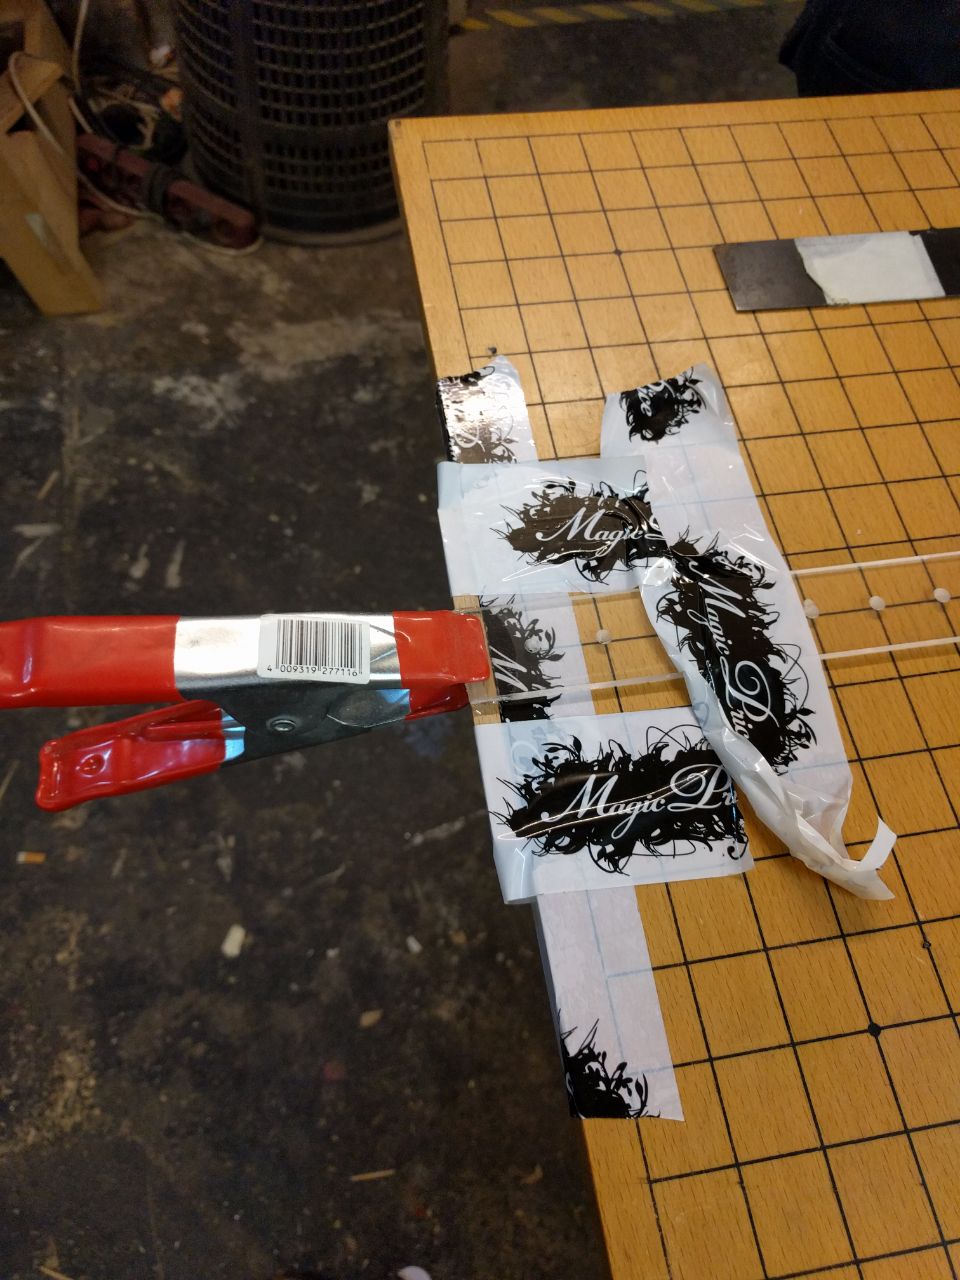 After drilling I made small strips out of cutoffs of red beech, which we glued to the protruding edges at right angles with a fast hardening 2-component epoxy, so that you have a stop when using the rulers to guide the ruler correctly. Hopefully this connection is not too fragile.
Success
We tested the rulers on a test piece, of which I made a short video.
The teenagers used the rulers, created Go boards, played several rounds of Go and got to know the basics of the game. But the rulers were a bit too flexible to create perfect straight lines and needed some practice before the results were good.
The following pictures were taken during the youth time during which the rulers were used.


Video
From the test of the rulers I made a short video for Instagram.


