Project c-nancy
Background
For a long time I wanted to build a CNC mill for c-base. The vacuum forming machine that we built ourselves led to the fact that we built many molds for forming plastic sheets manually. Especially during this activity of mold making we wanted a CNC milling machine more then once to be able to produce complicated shapes easily and precisely. In the past I have read a lot about the design of CNC milling machines and drew not just one CNC milling machine.
Material Procurement
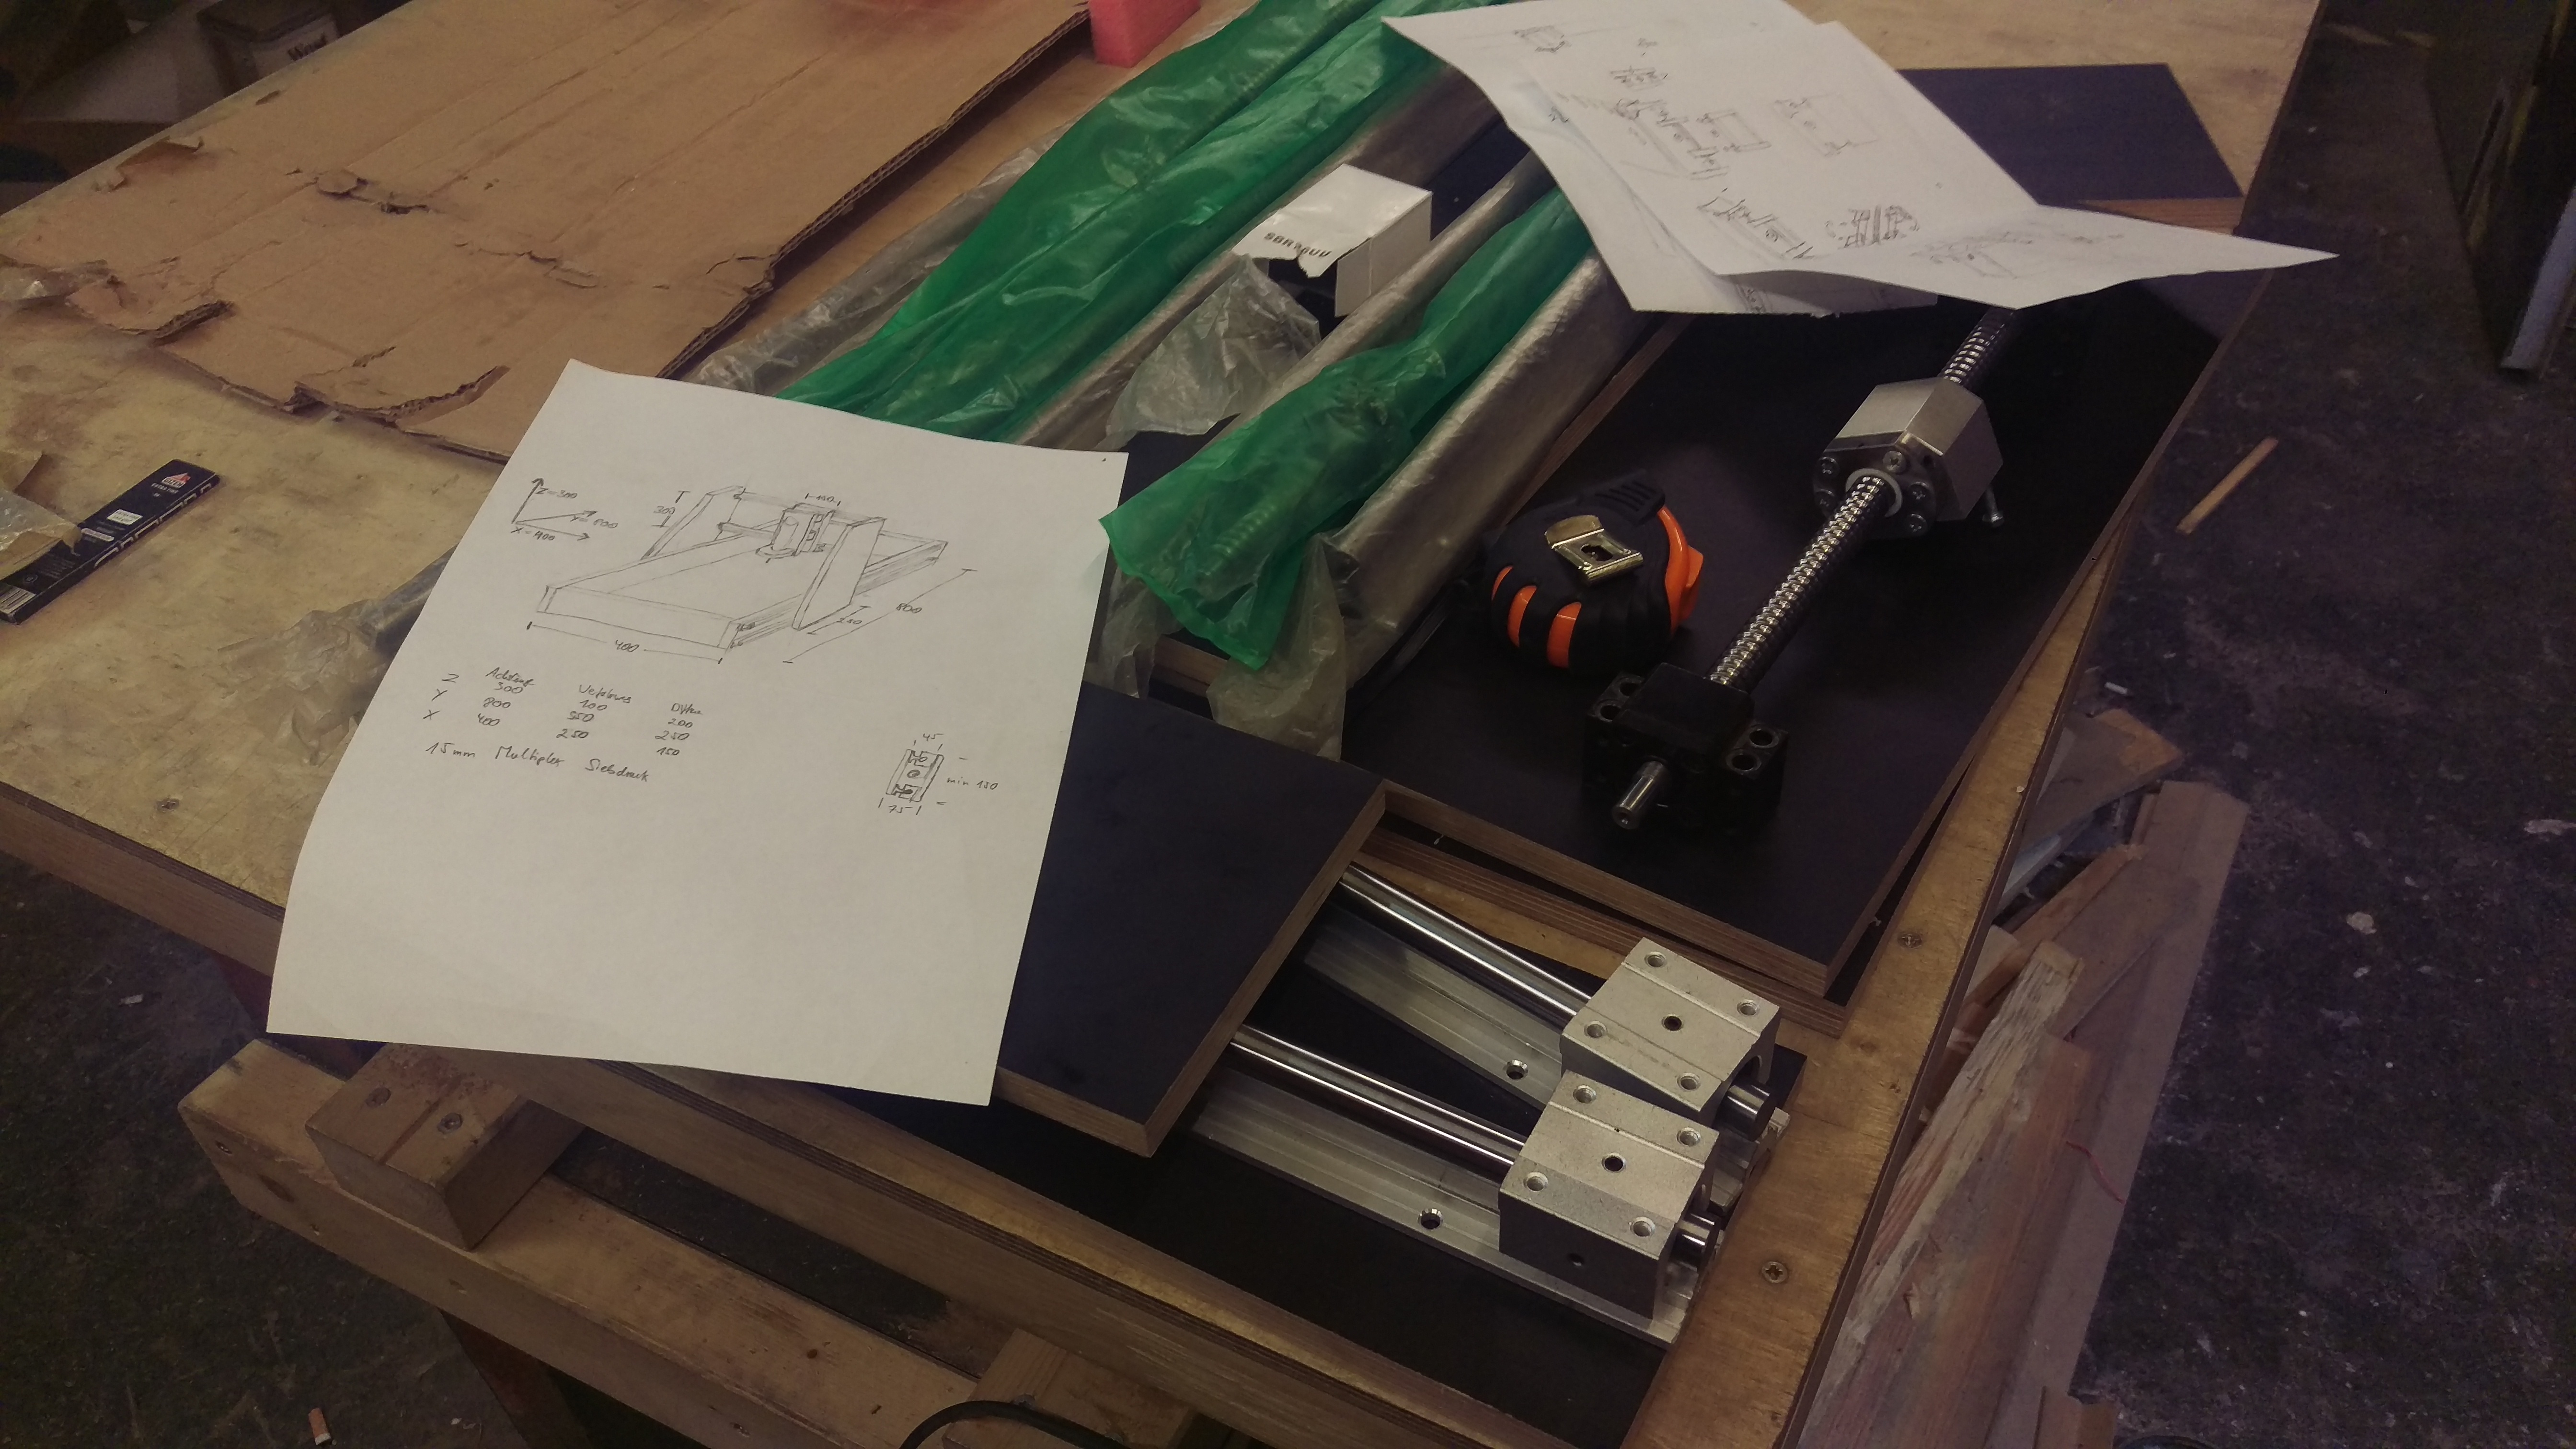
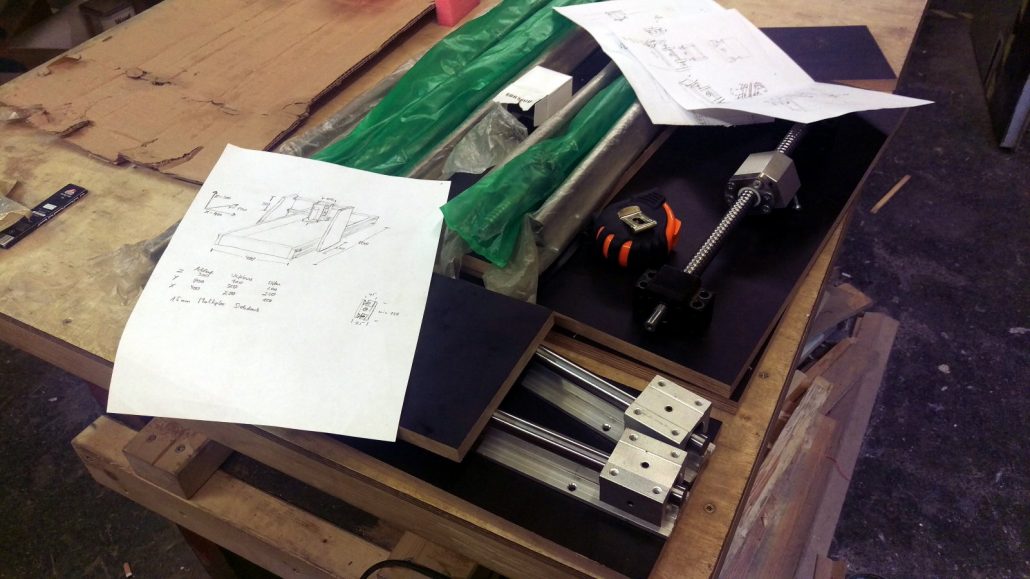
I received the linear bearings of the type SBR16 and the ball screws of type 1605 from tecdroid in exchange for my first self-made table saw. The CNC mill therefore had to be constructed on the basis of the dimensions of these parts.
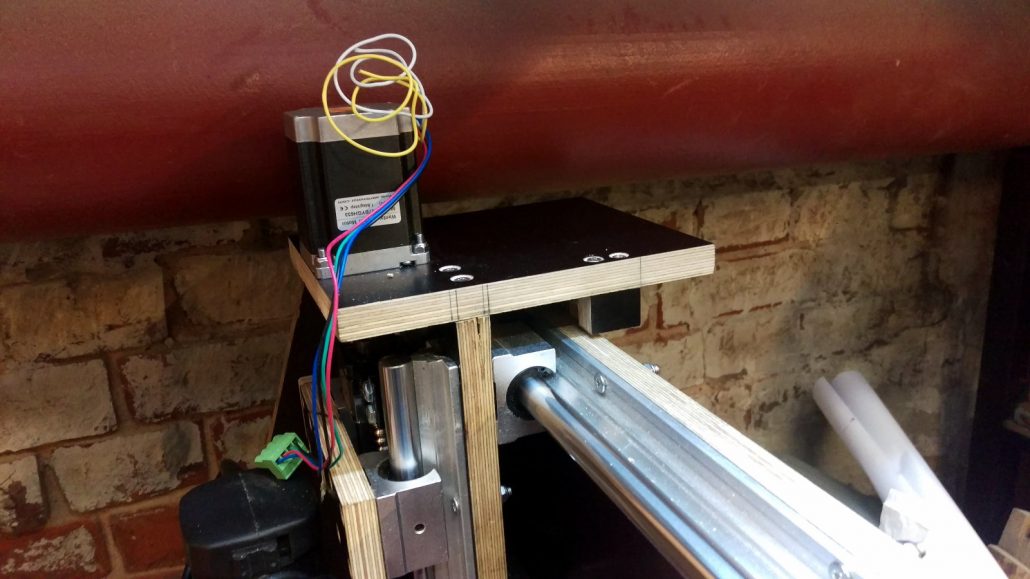
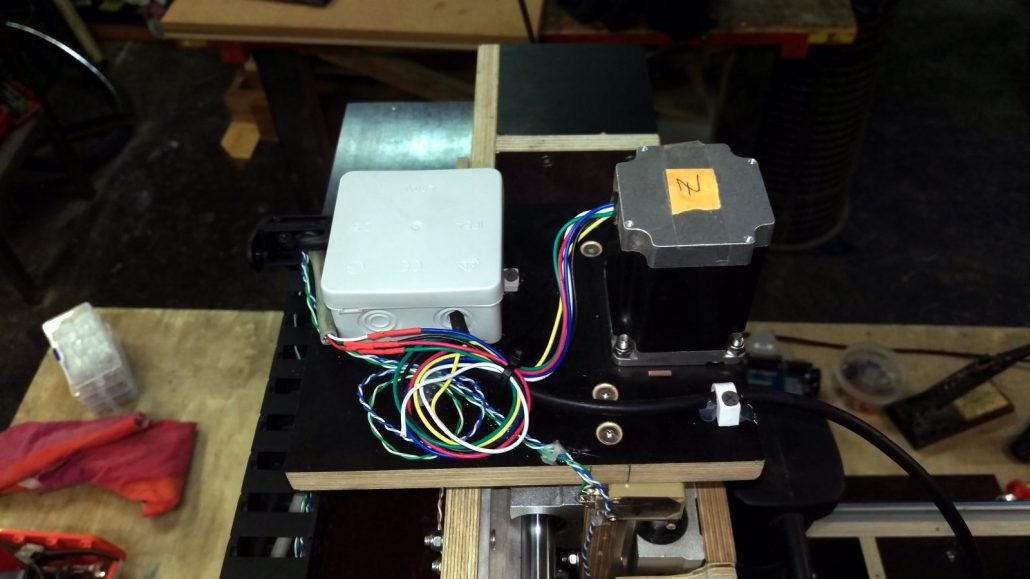
The stepper motors of the type NEMA23 and the stepper drivers for these stepper motors were kindly donated by chaosle.
Everything else was bought from a budget partly funded by the crew through our own crowdfunding platform “yeahletsdothat. com”, the other part was paid for by c-base.
Project
![]()
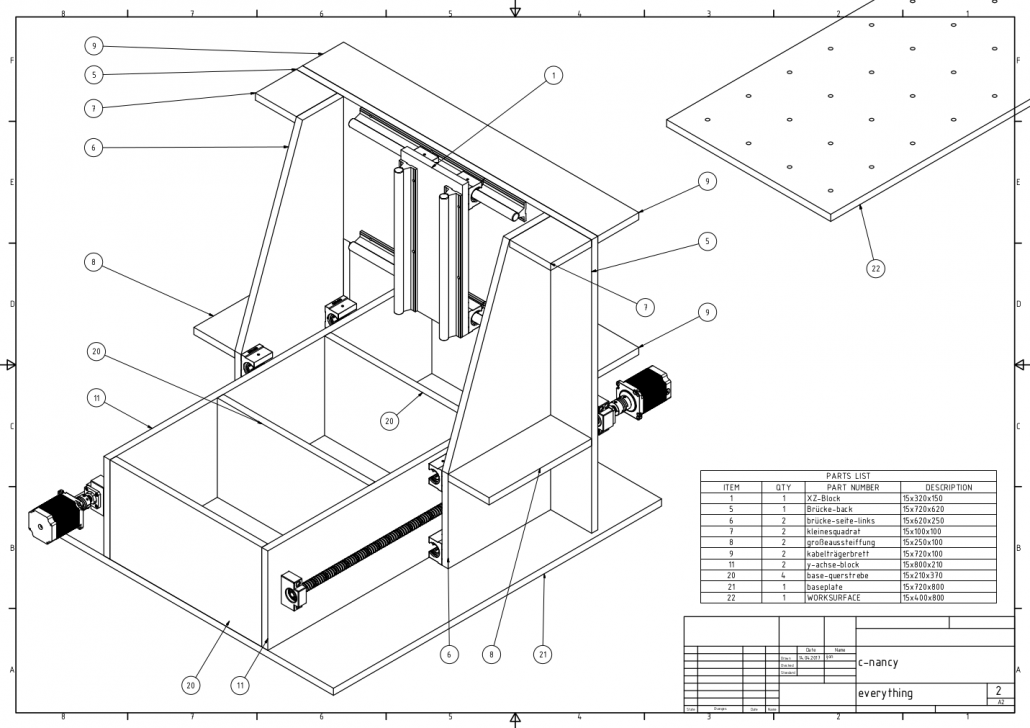
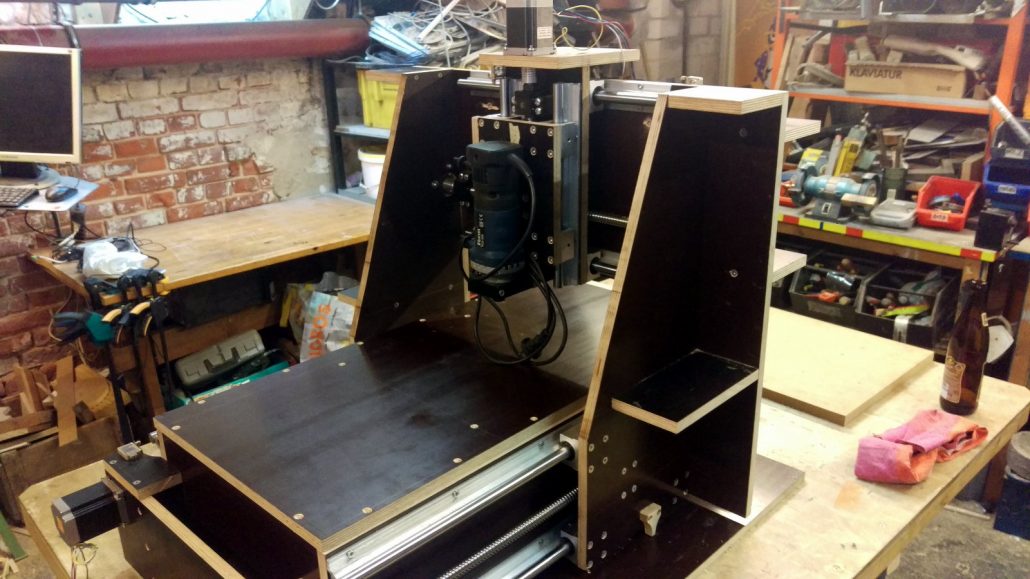
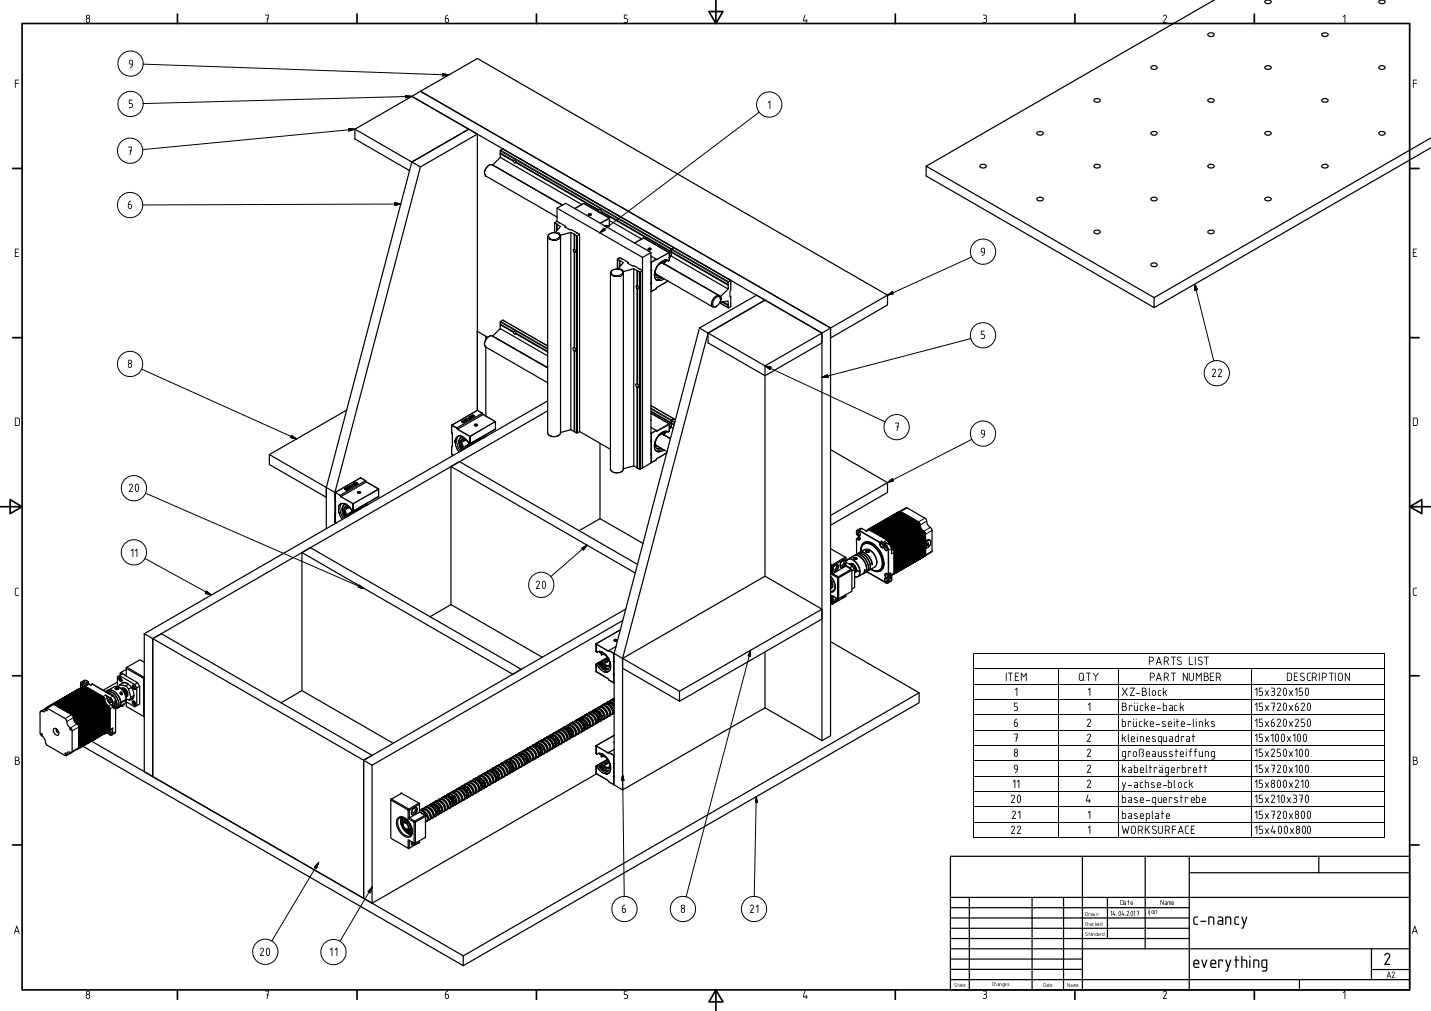 The technical drawings for this project were made by me with Autodesk Inventor. The construction of the machine is based mainly on rectangular cut parts made from birch plywood. To simplify the construction and increase precision, all frame parts have already been cut to size by the timber merchant. Some cuts still had to be made, but none of these cuts were critical or had to be done with high precision.
Implementation
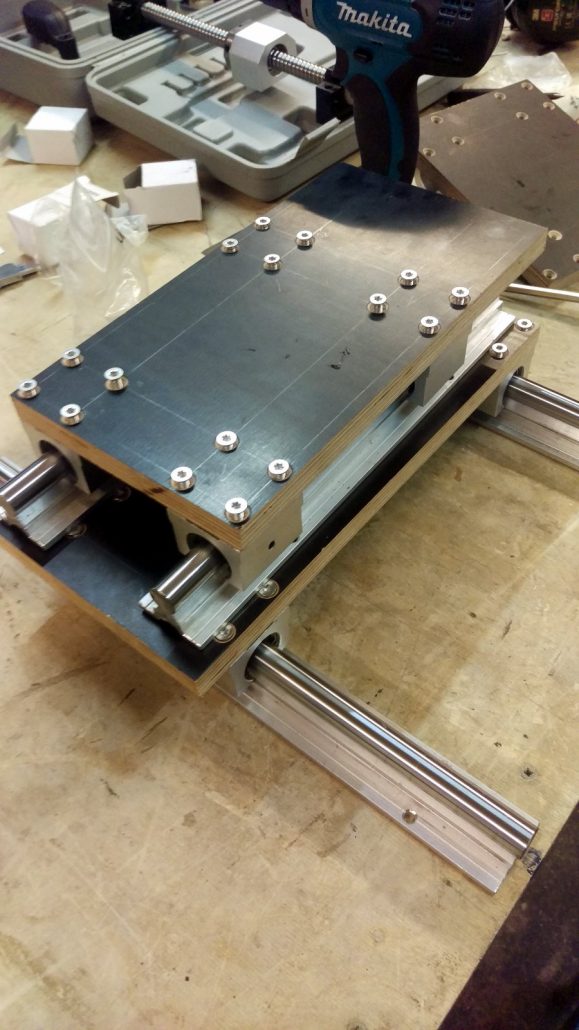
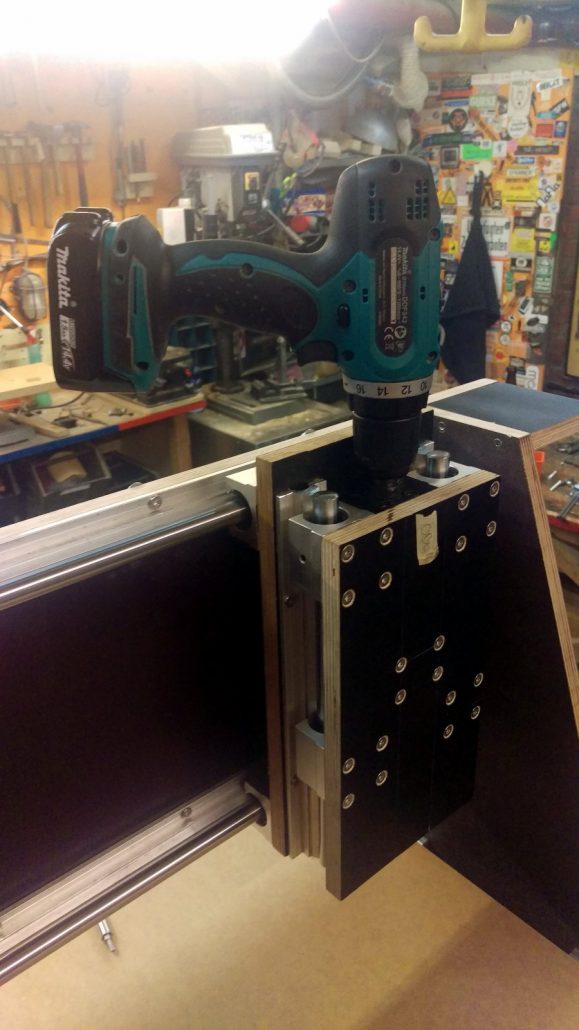
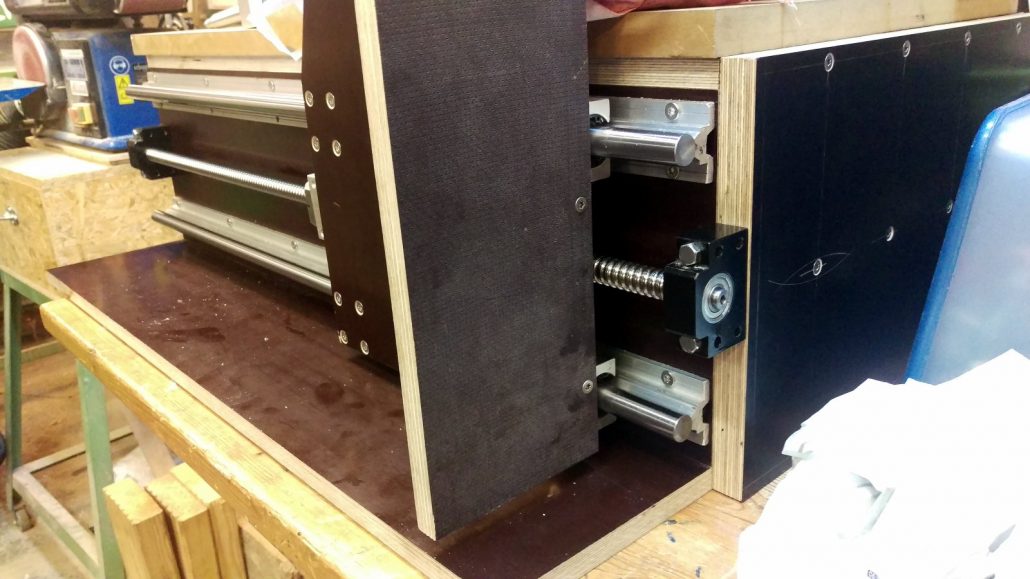
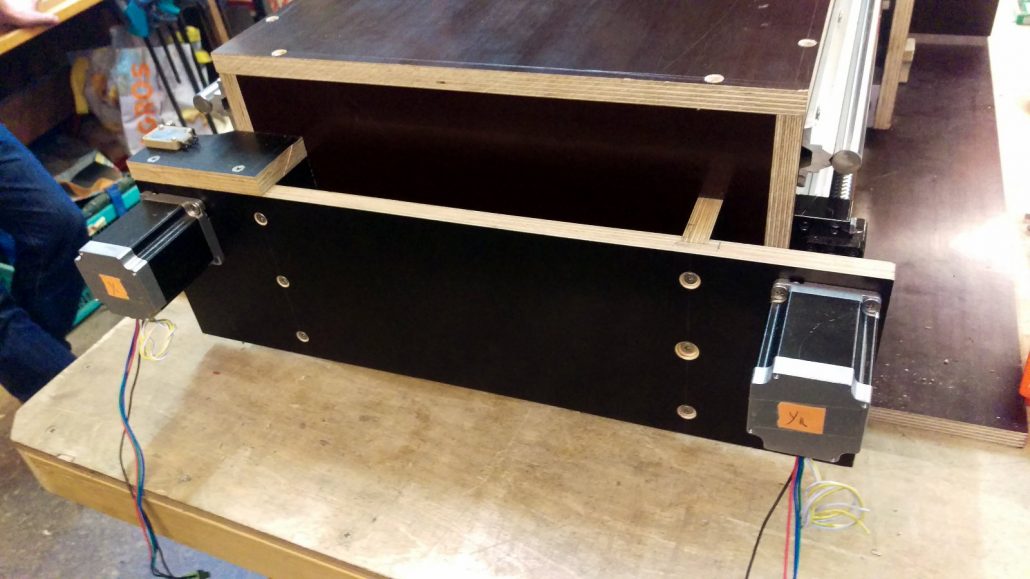
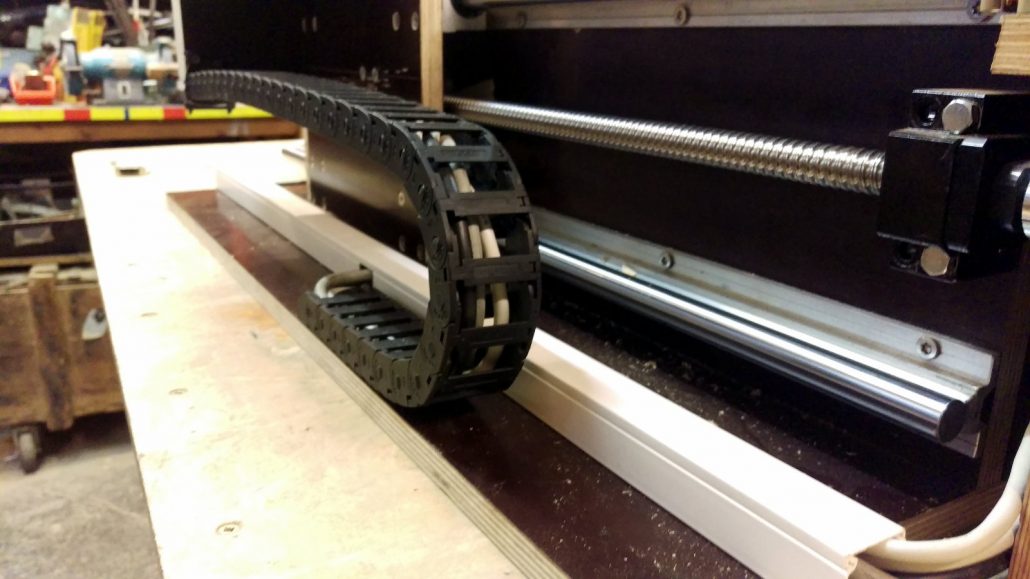
The plan was to first assemble the vertical axis Z, then attach the X-axis to the portal and finally screw the portal to the machine base. I have decided on this order to use the linear bearings of the moving part of the respective axis to align the linear glide rails. The ball screws and ball screw nuts of the respective axis were only installed after the linear bearings and linear slide rails had been mounted on one axis.
The member spooxe was very helpful in the mechanical construction, as a trained insulation technician he provided measuring and marking tools and helped to precisely mark the holes for fastening the various components.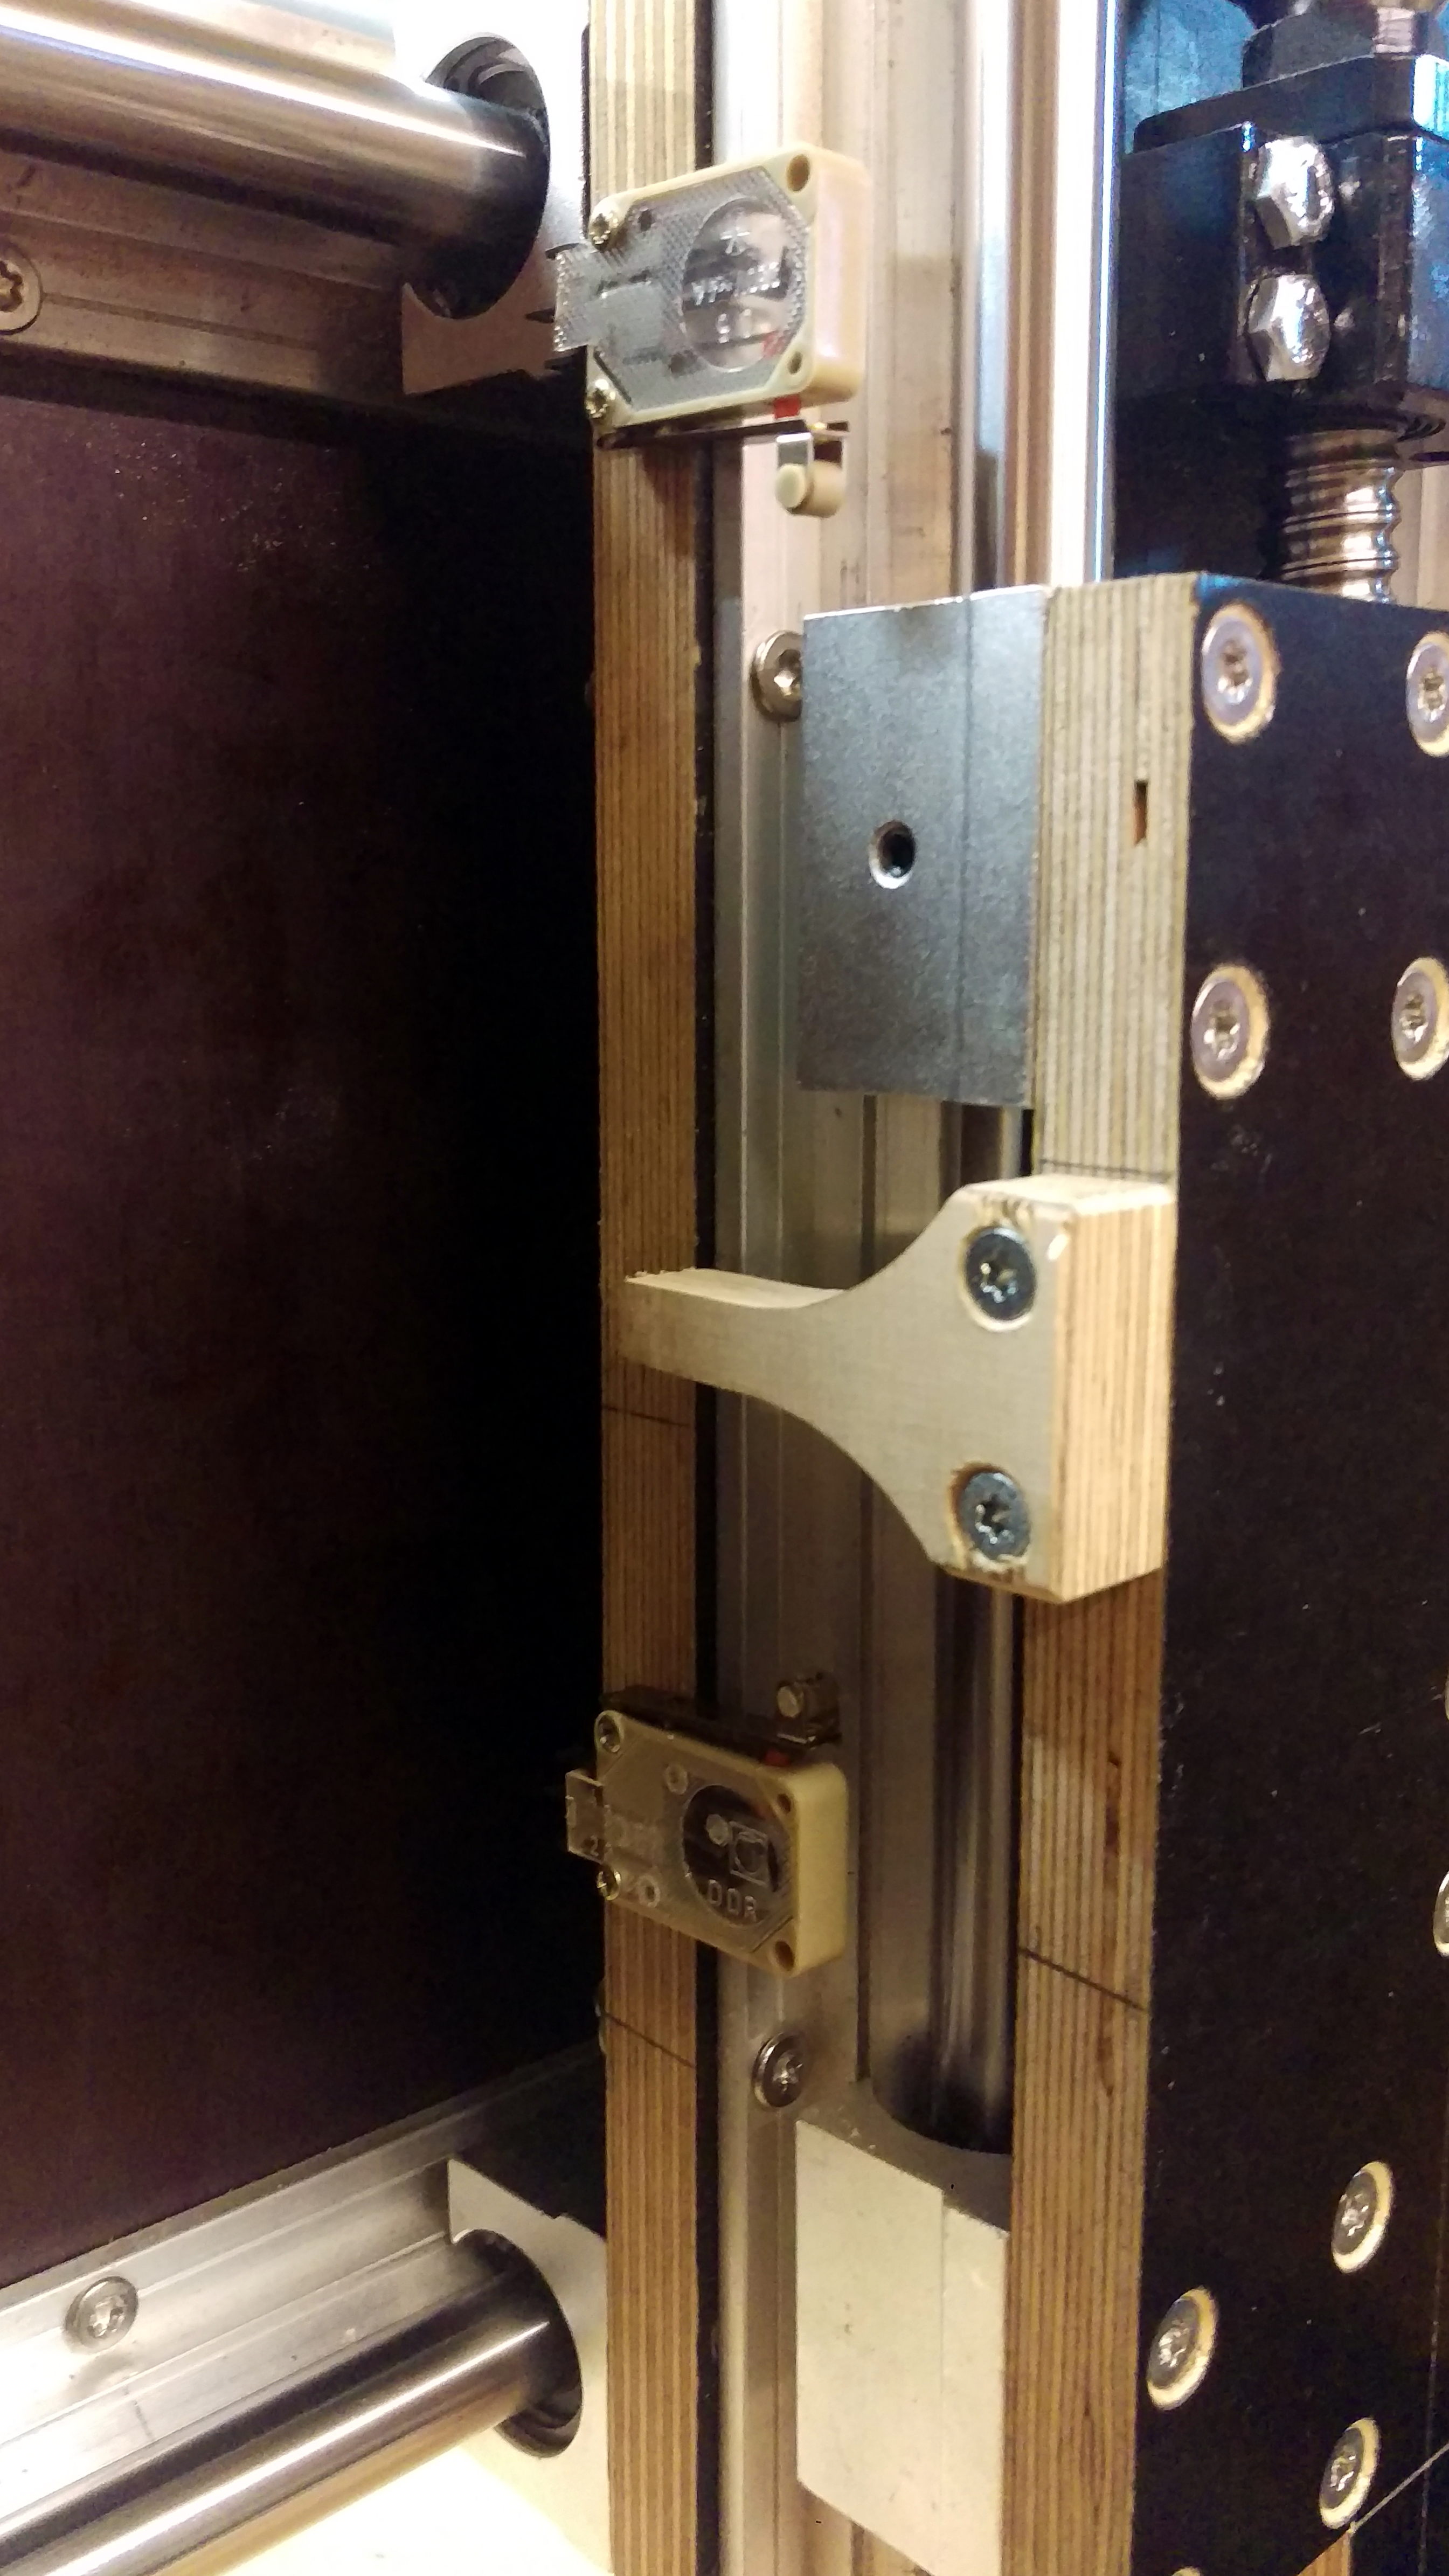
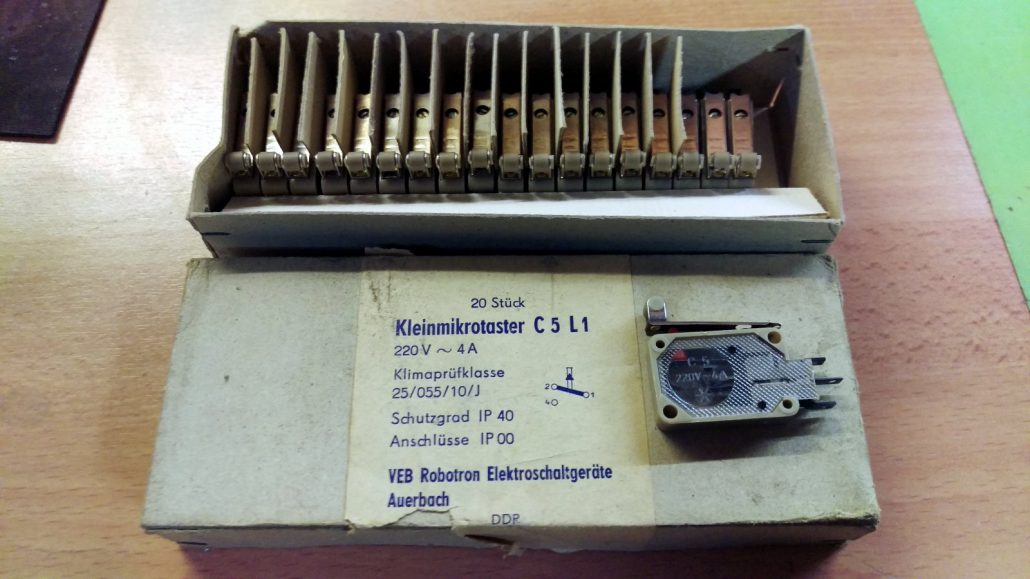
In order to increase the operational safety, we have decided to mount limit switches on each axis at both ends. This ensures that the machine switches itself off automatically as soon as a user moves too far on an axis.
Electrics / Electronics
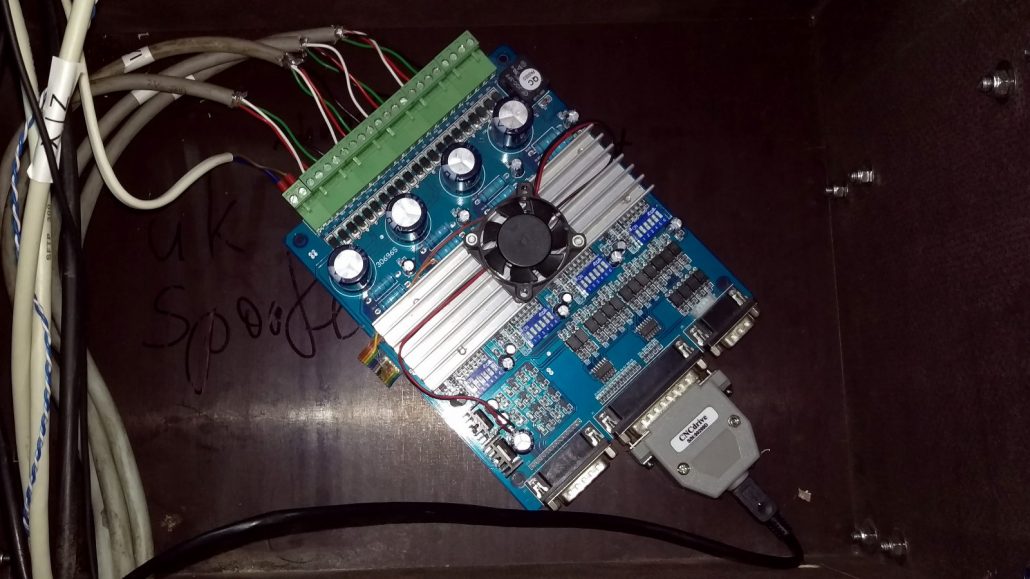
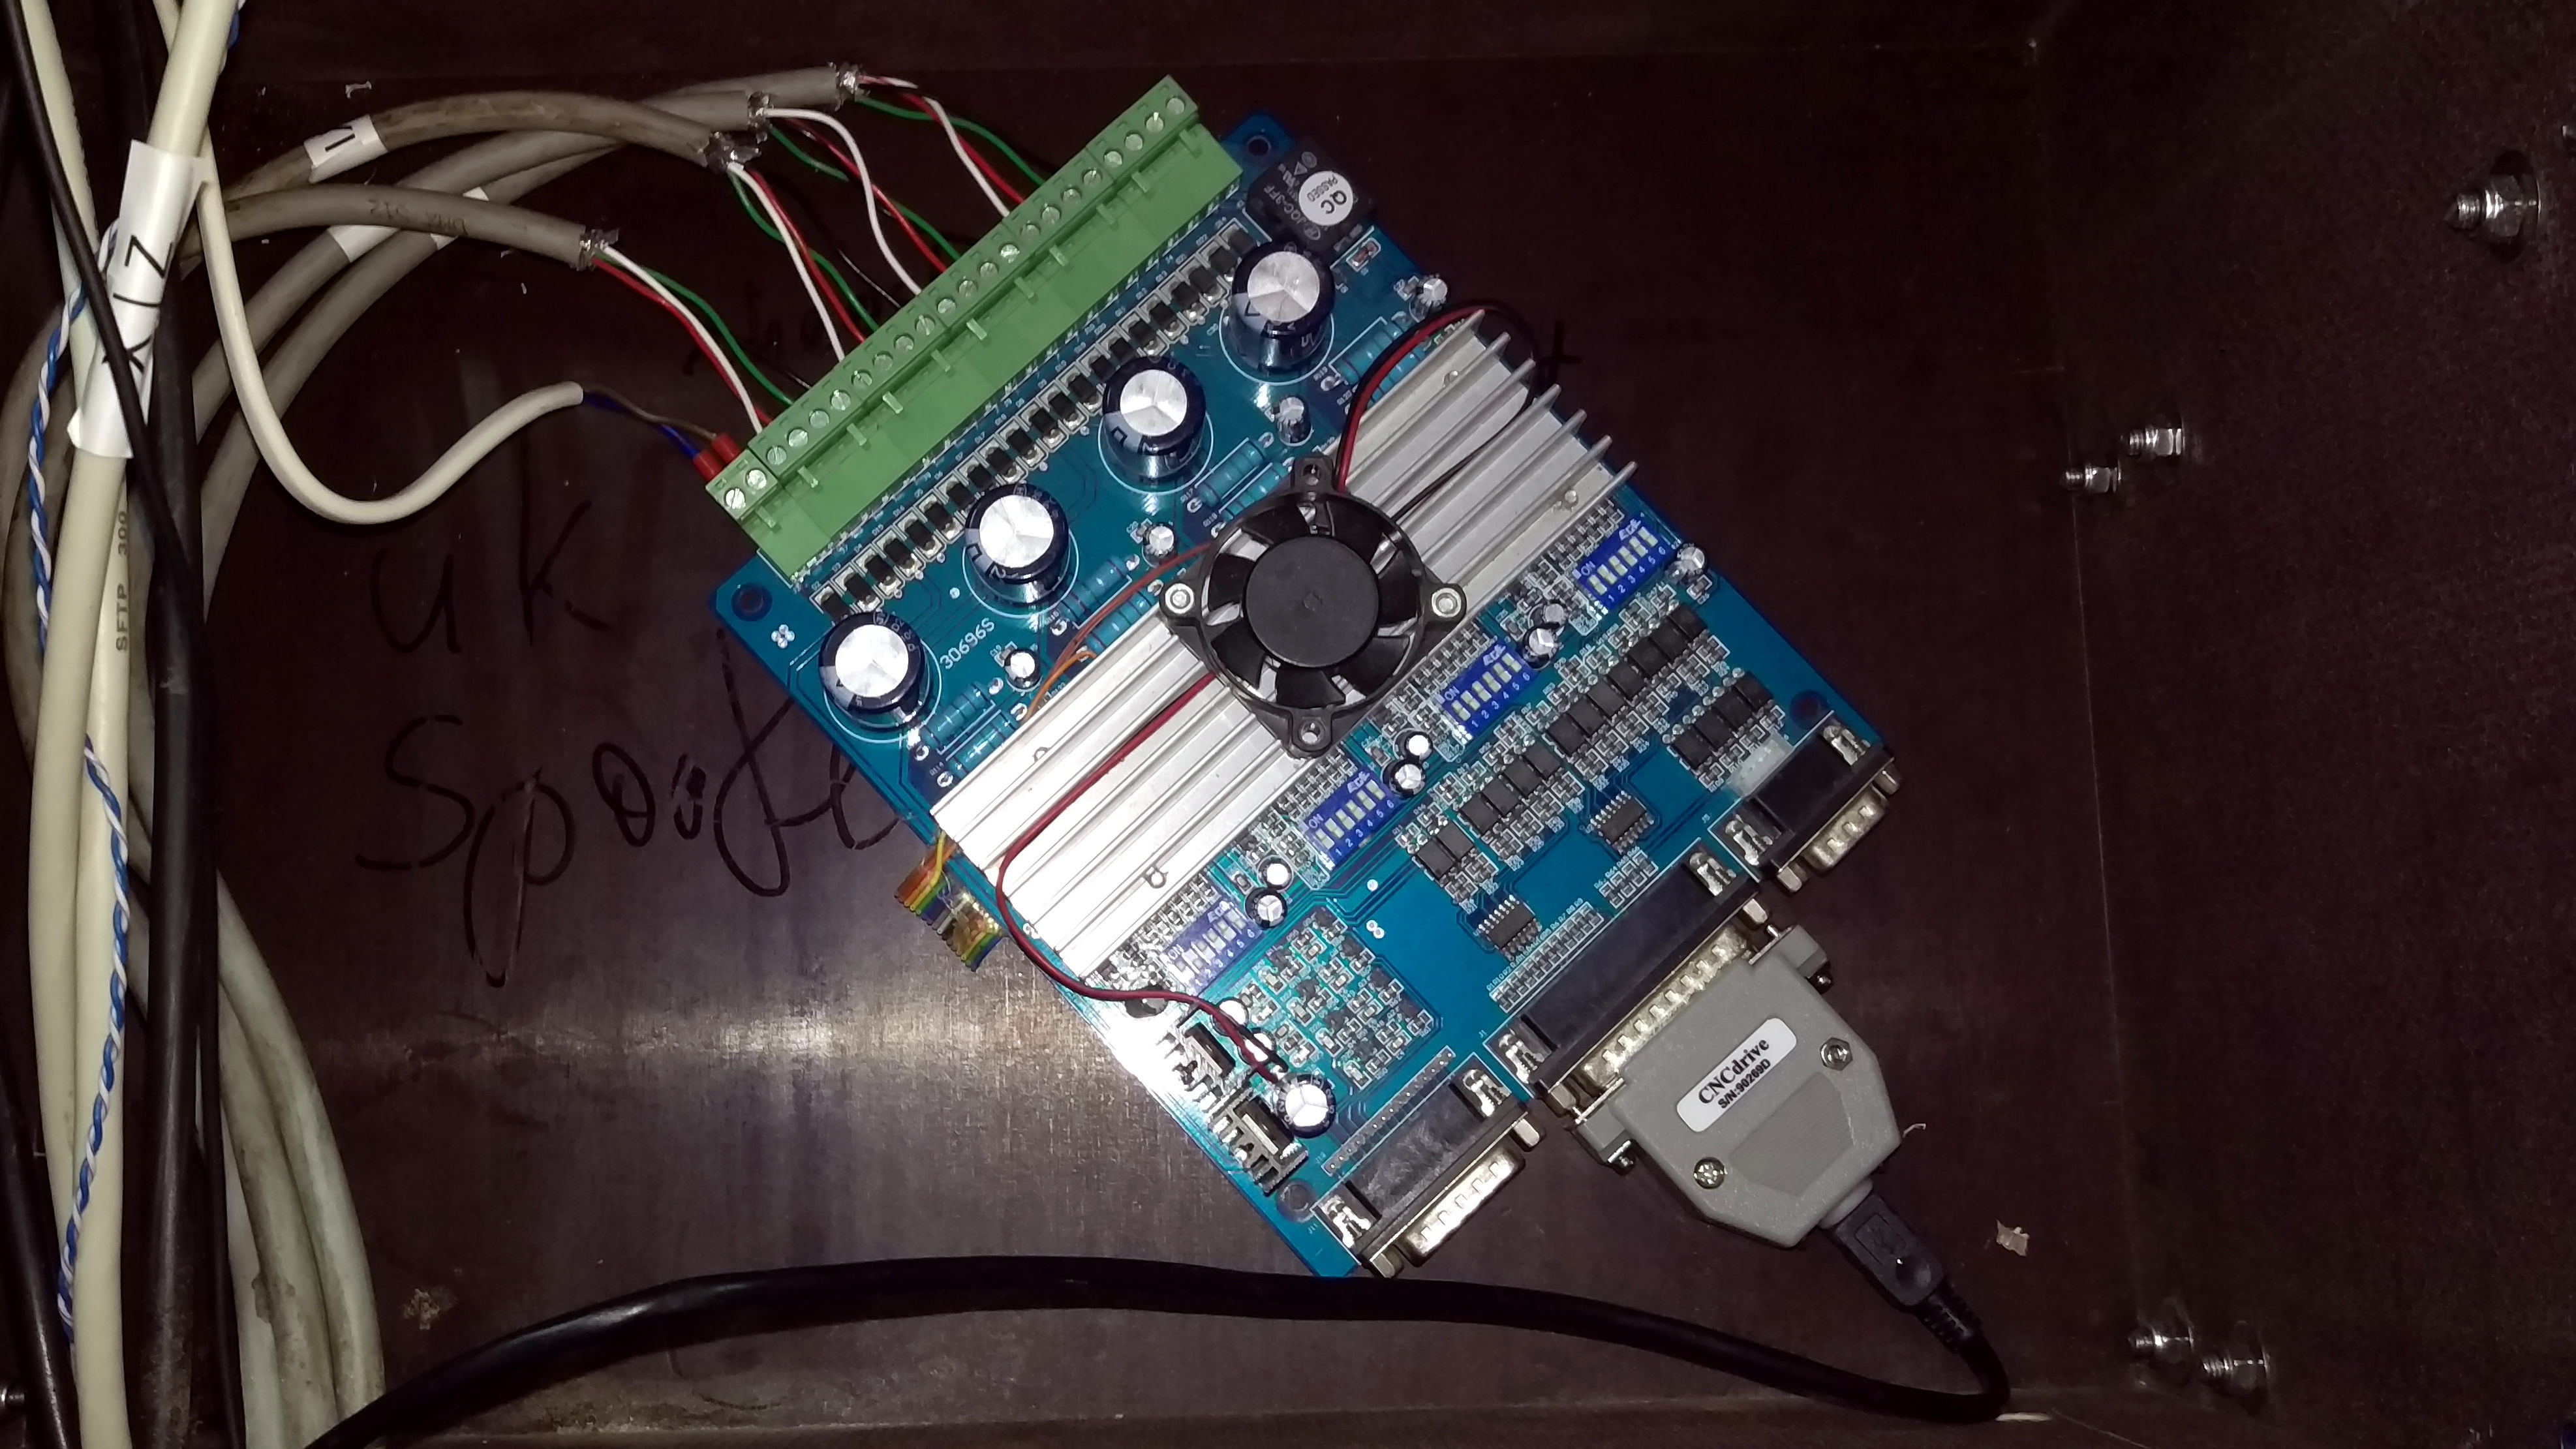 The member chaosle donated the stepper motors (NEMA23) and drivers for them. The driver board has only an LPT input, a standard that is no longer used on all modern computers, so we needed a motion controller. The UC100 was chosen together with the matching software UCCNC, both from the company CNCDrive. This motion controller receives instructions from the computer and generates the individual steps of the stepper motors in real time. This motion controller also reads out the limit switches and stops the motors when they are triggered, since this process is also time-critical and must be carried out within milliseconds. The Motion Controller is connected to the computer via USB.
The two members uk and coon were involved in the wiring and electronics – without their help c-nancy would certainly not have been completely and neatly wired within only two evenings.
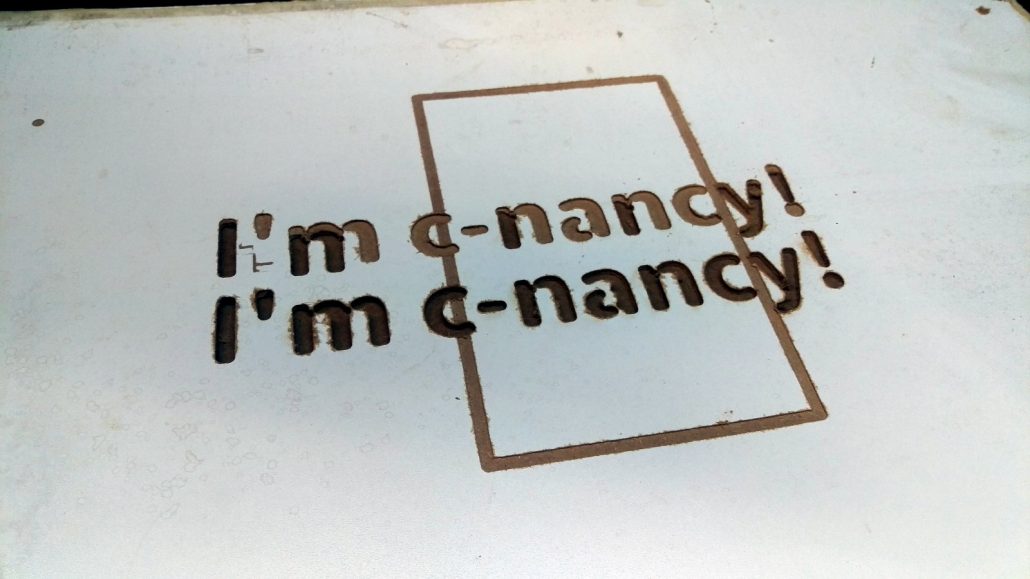
Sucess
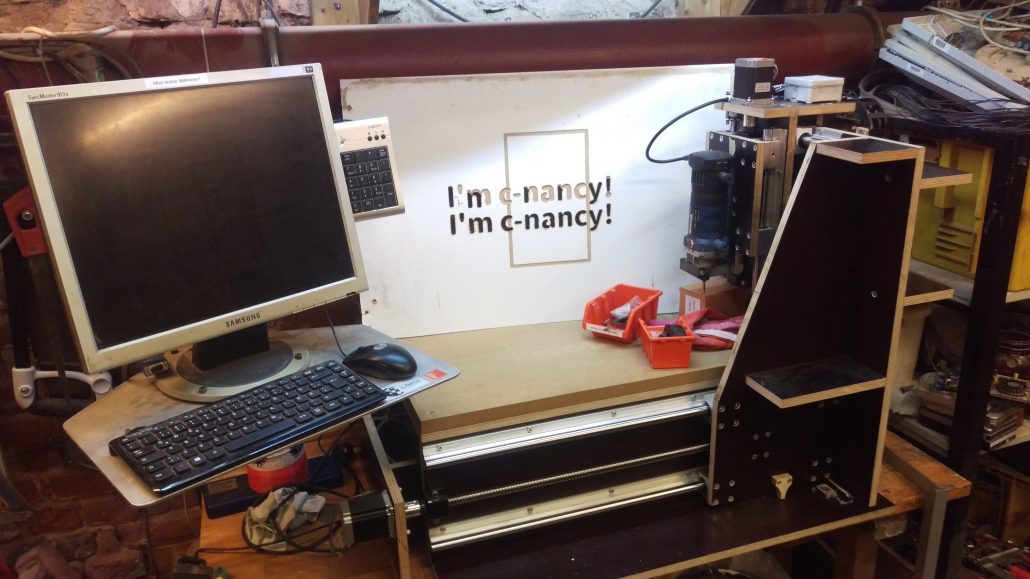
The milling machine works mechanically and electronically. Now we all have to learn how to handle it and try out which materials can be milled with which cutterheads and what speeds. We haven’t broken off a mill bit yet. Some small details are still pending, so a tool length sensor has to be designed and installed, and c-nancy also needs a connection to our dust extractor. We may also want to buy a better mill spindle for it in the future.
I would like to thank all those involved (donors and helpers) for their support. Without you, this project would not have been finished so quickly, or it wouldn’t have worked at all.
Technical Data
maximum travel X-axis 257 mm
maximum travel Y-axis 554 mm
Maximum workpiece height (Z-axis) 87 mm
Milling spindle assembly: 43mm Euro-neck adapter
Maximum workpiece size in X: 480mm
Maximum workpiece size in Y: not limited.
More Pictures and Videos
Here is a short video clip of the very first movements of the axes, still without workpiece or milling cutter.
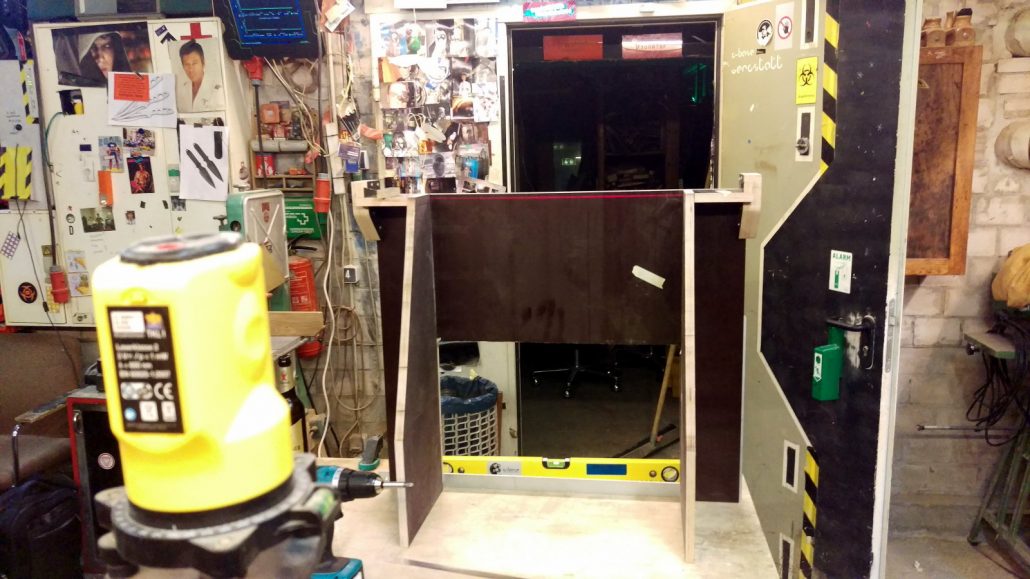
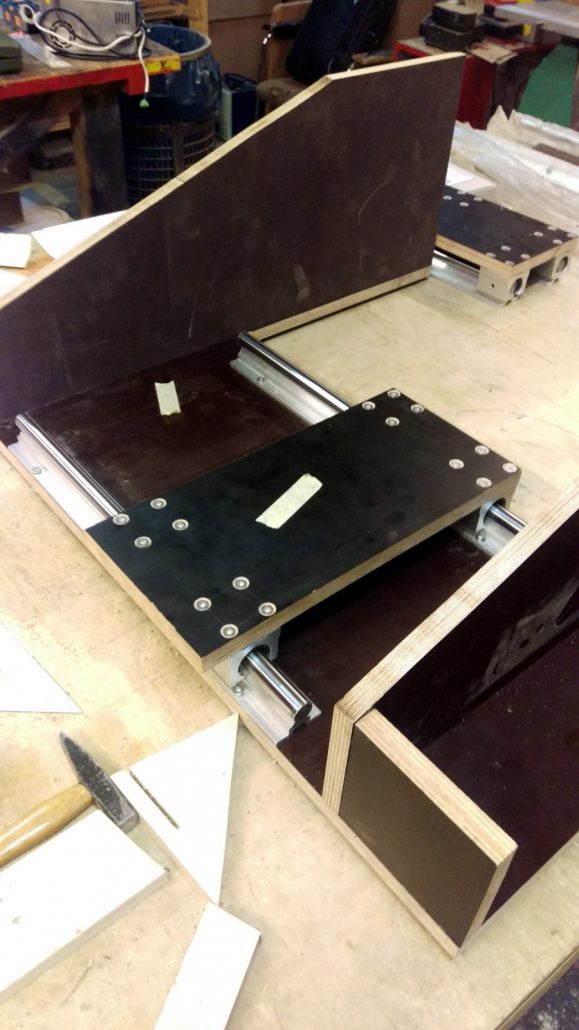
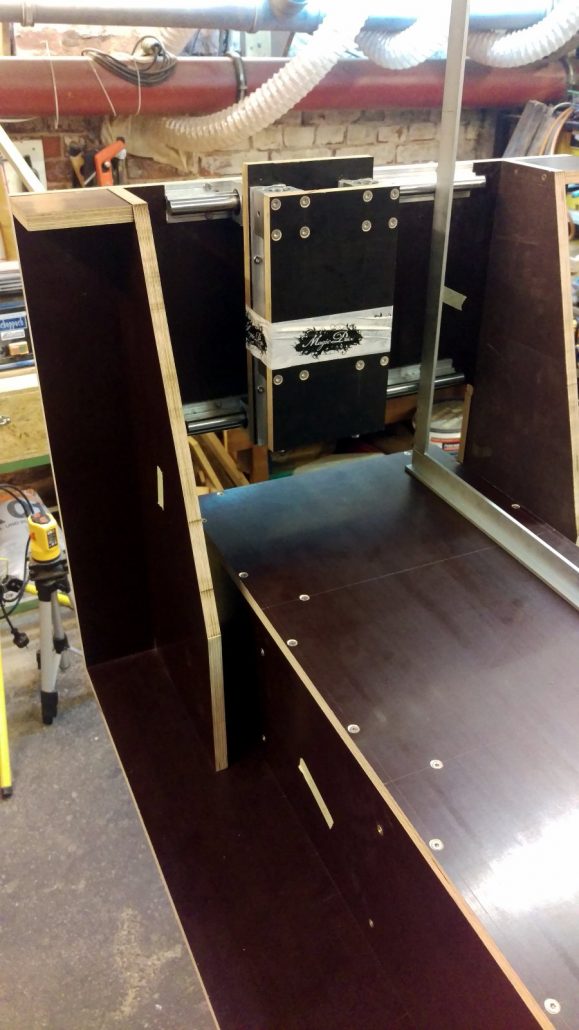
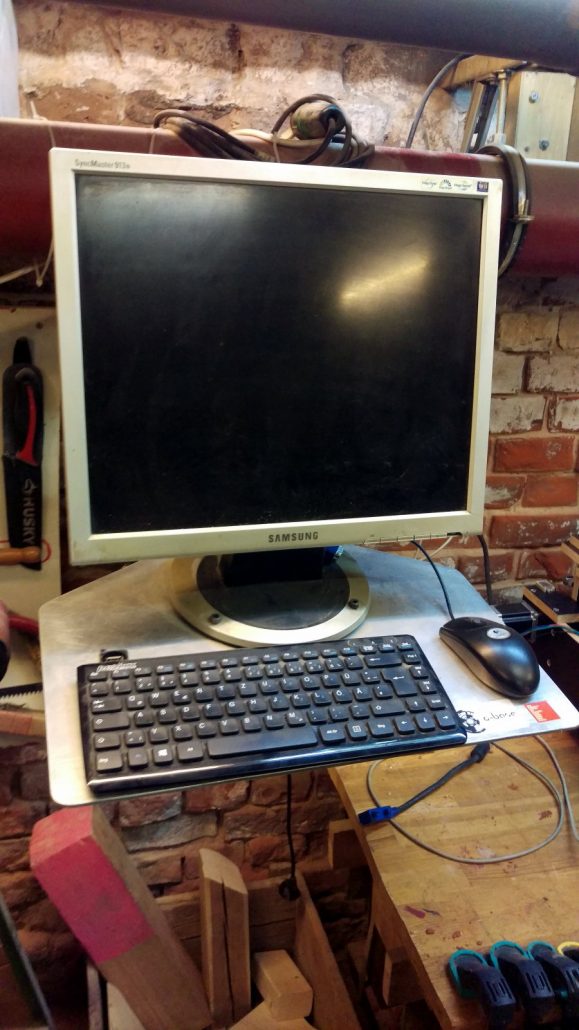
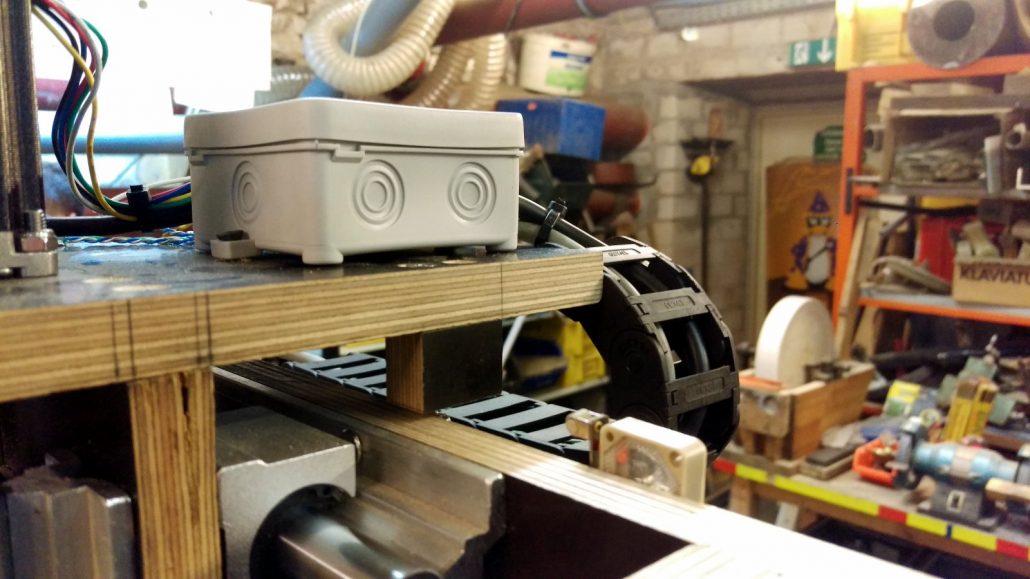
Pictures from the construction of the milling machine in various stages of completion.


