Aluminum Stops for the Miter Saw
Background
For the large miter saw aboard the c-base, there were still no length stops as described in the original 2018 report. These stops are needed to cut workpieces to the same length repeatedly. Without them, precise work was possible, but much less convenient.
Implementation
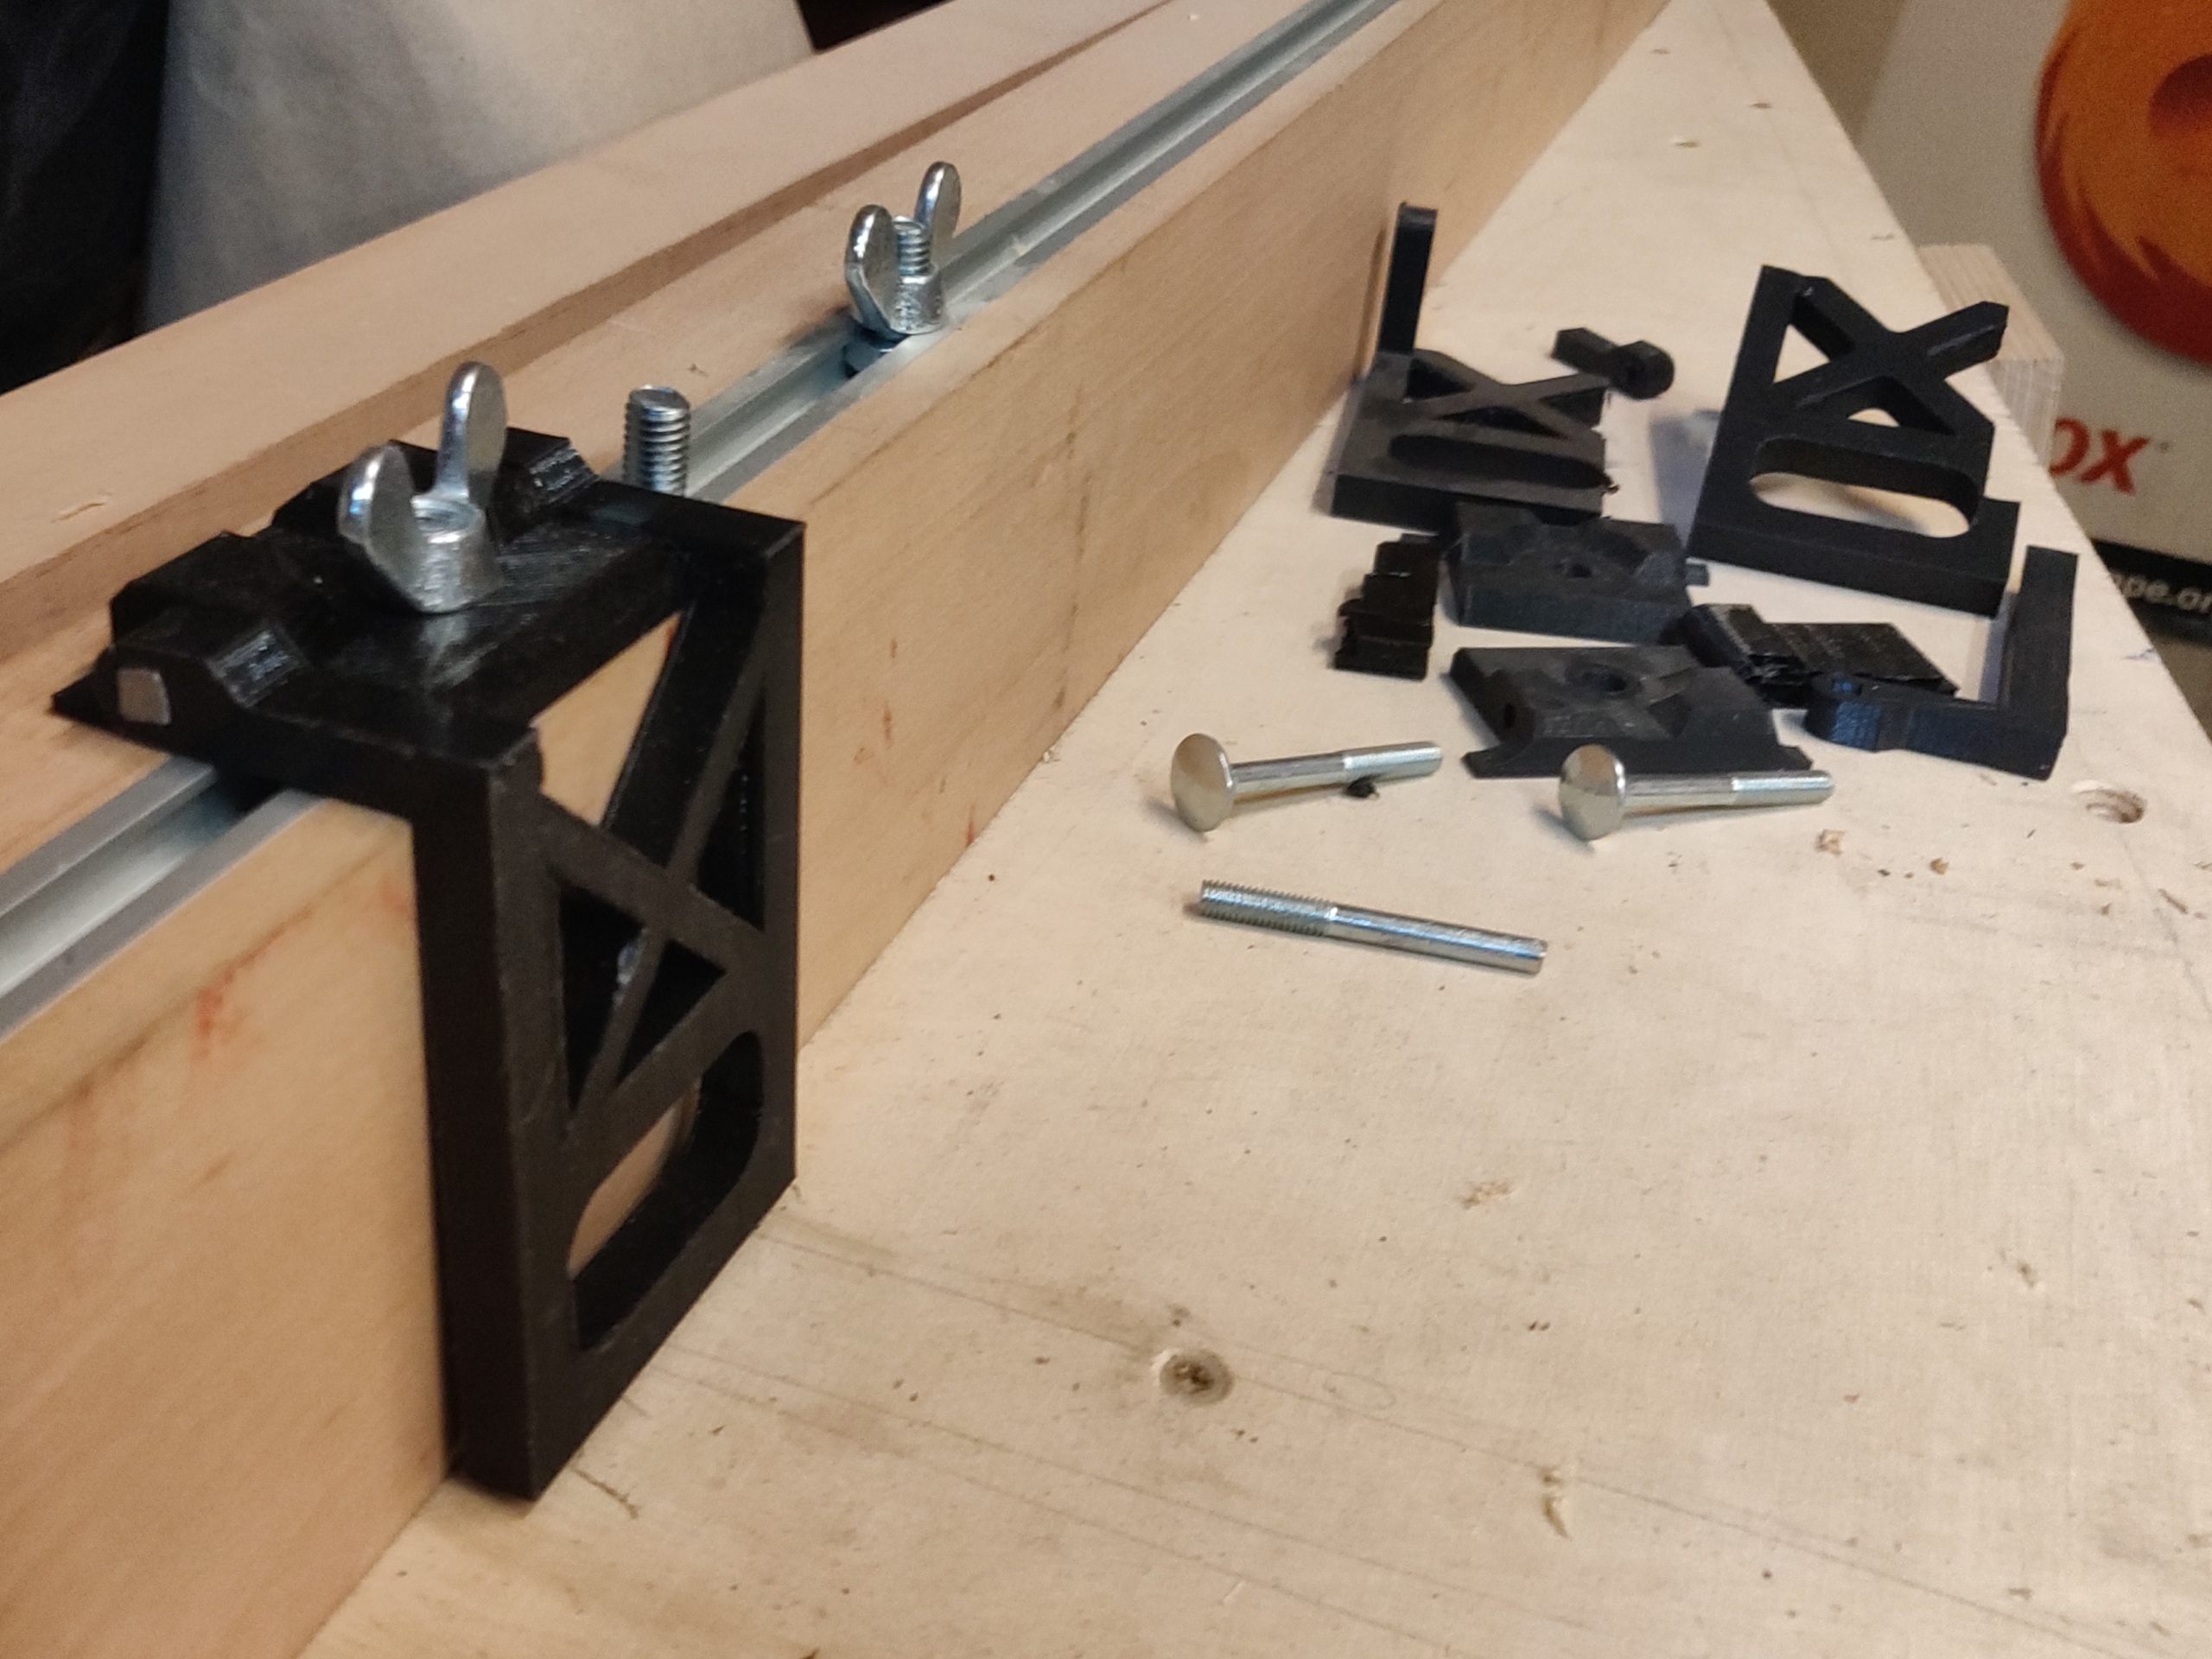
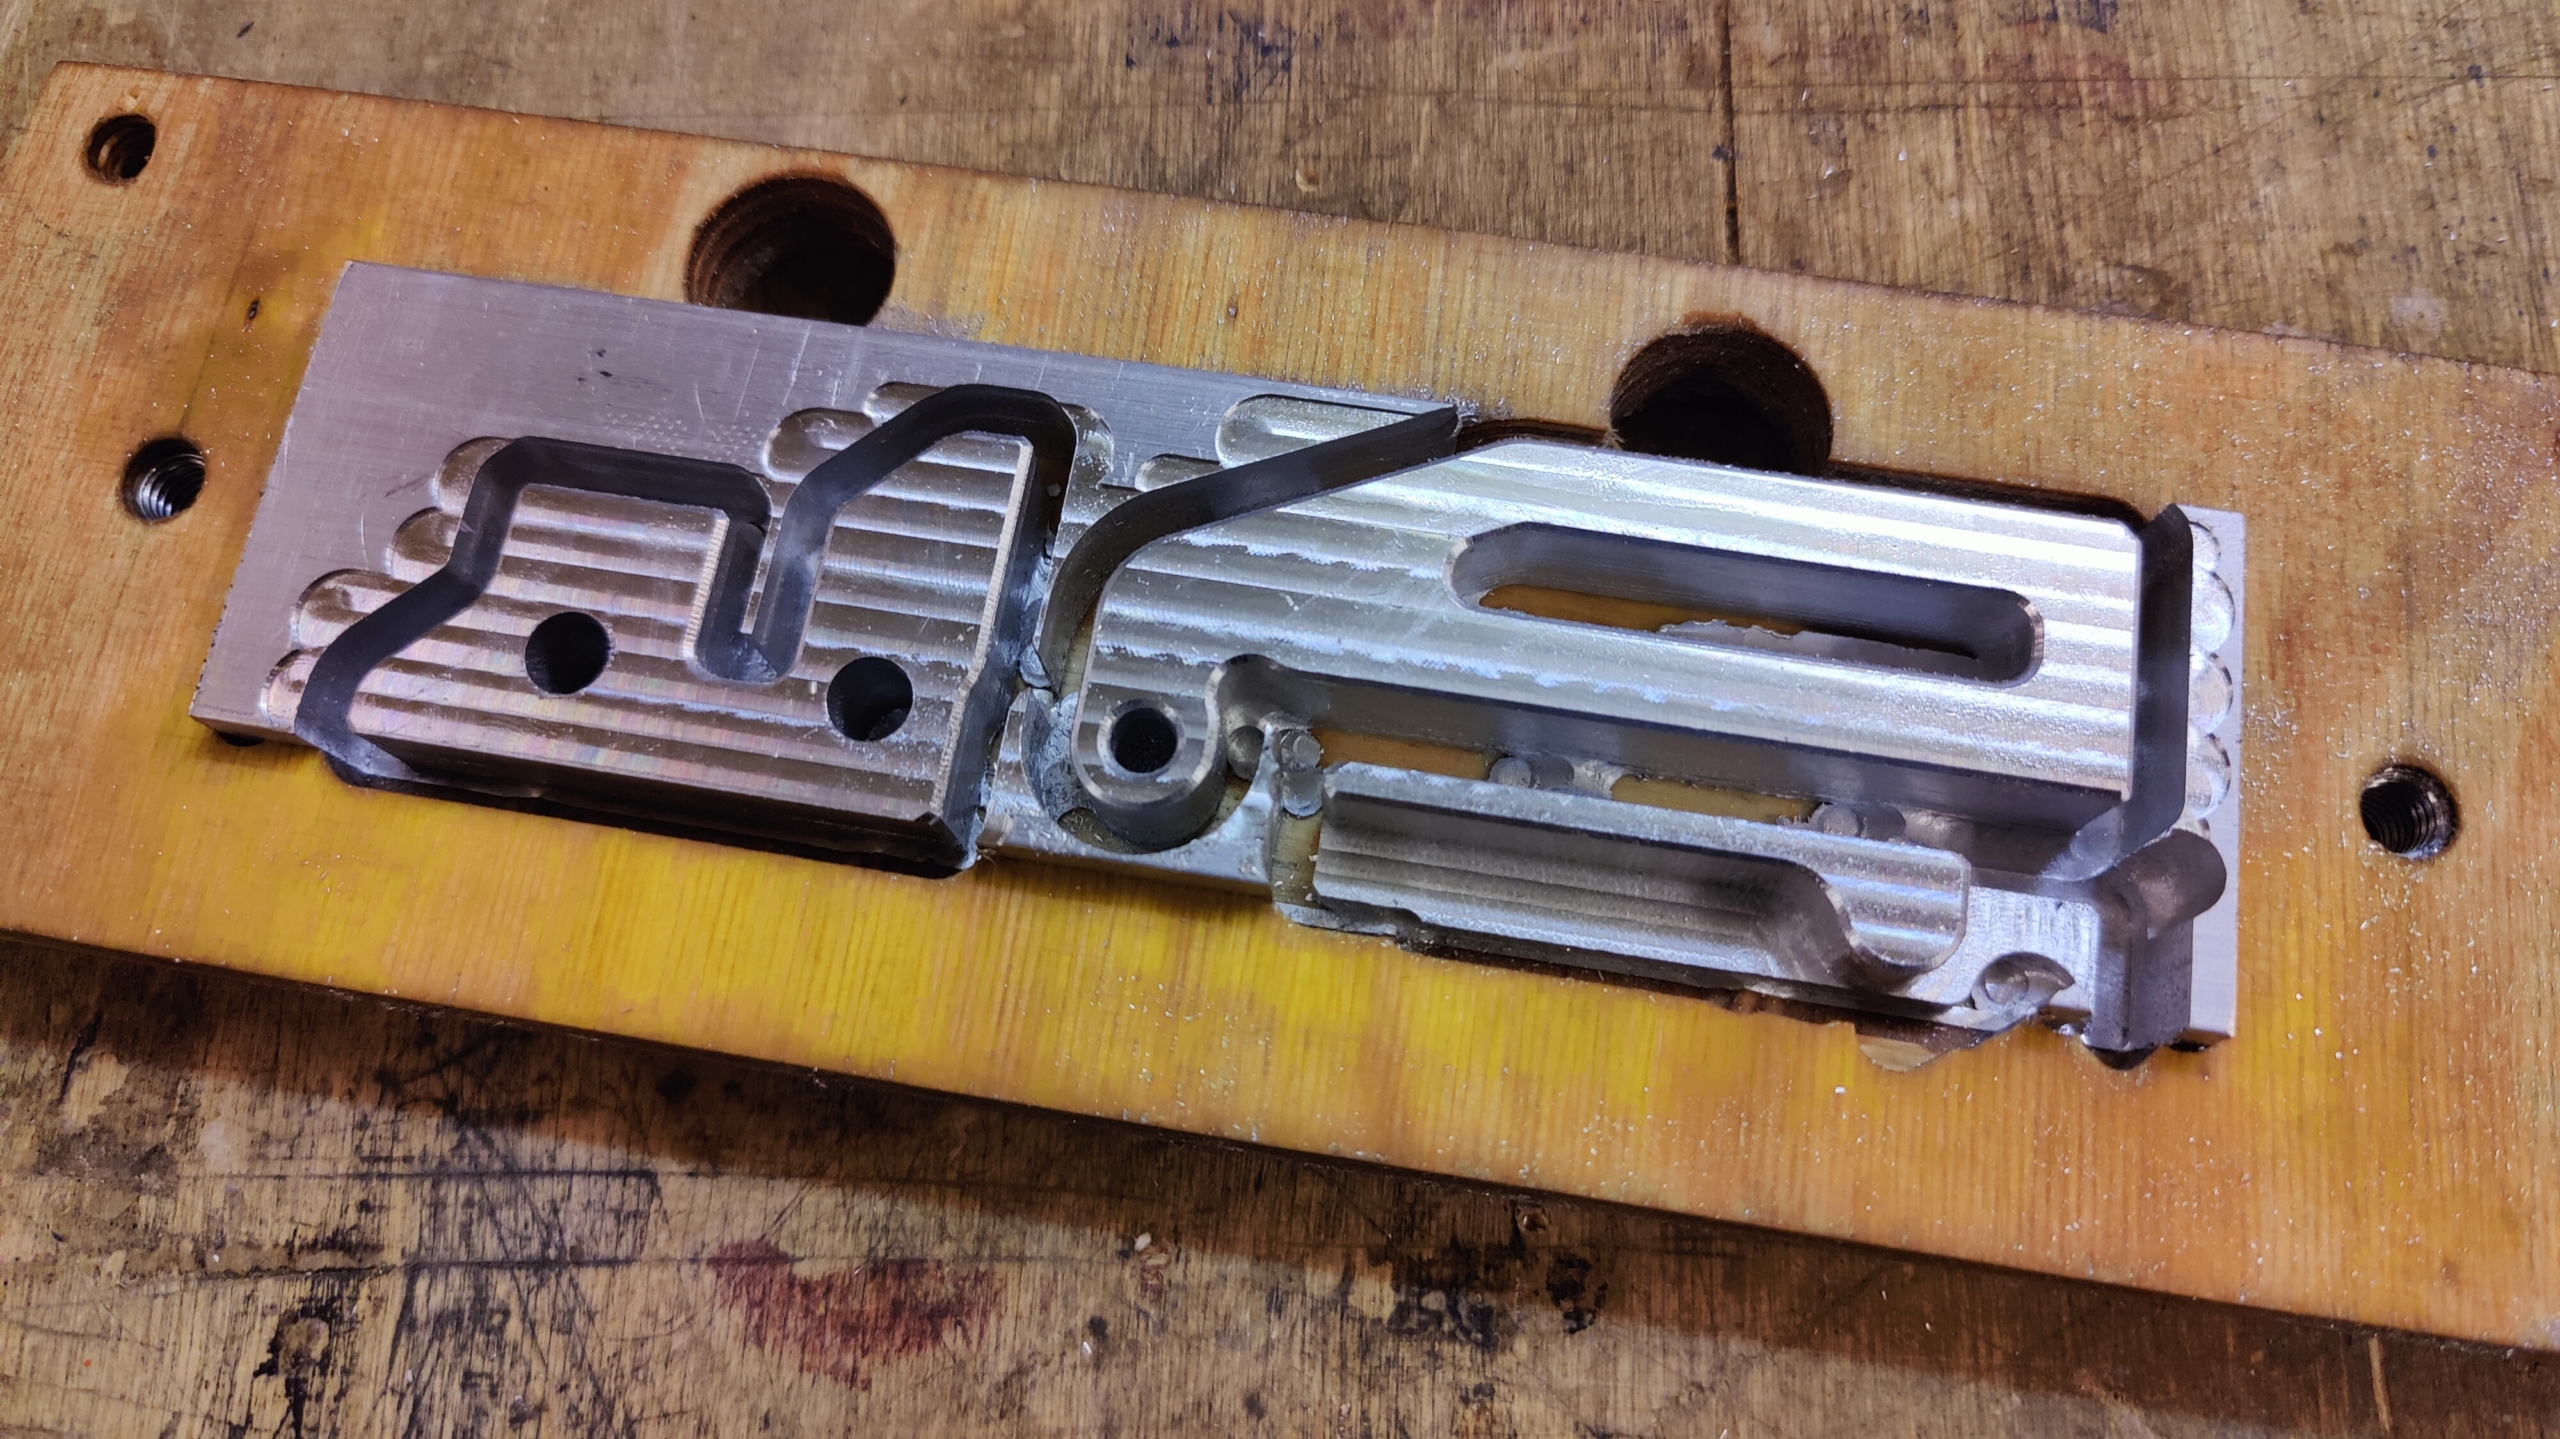
failed versions in the background
I first tried to 3D print the stops. I made several versions from PLA and ABS, each with different wall thicknesses and geometries. The shape was already close to the final design, but the material was too soft. When the workpiece hit the stop, the plastic flexed by up to two millimeters, making repeatable accuracy impossible.
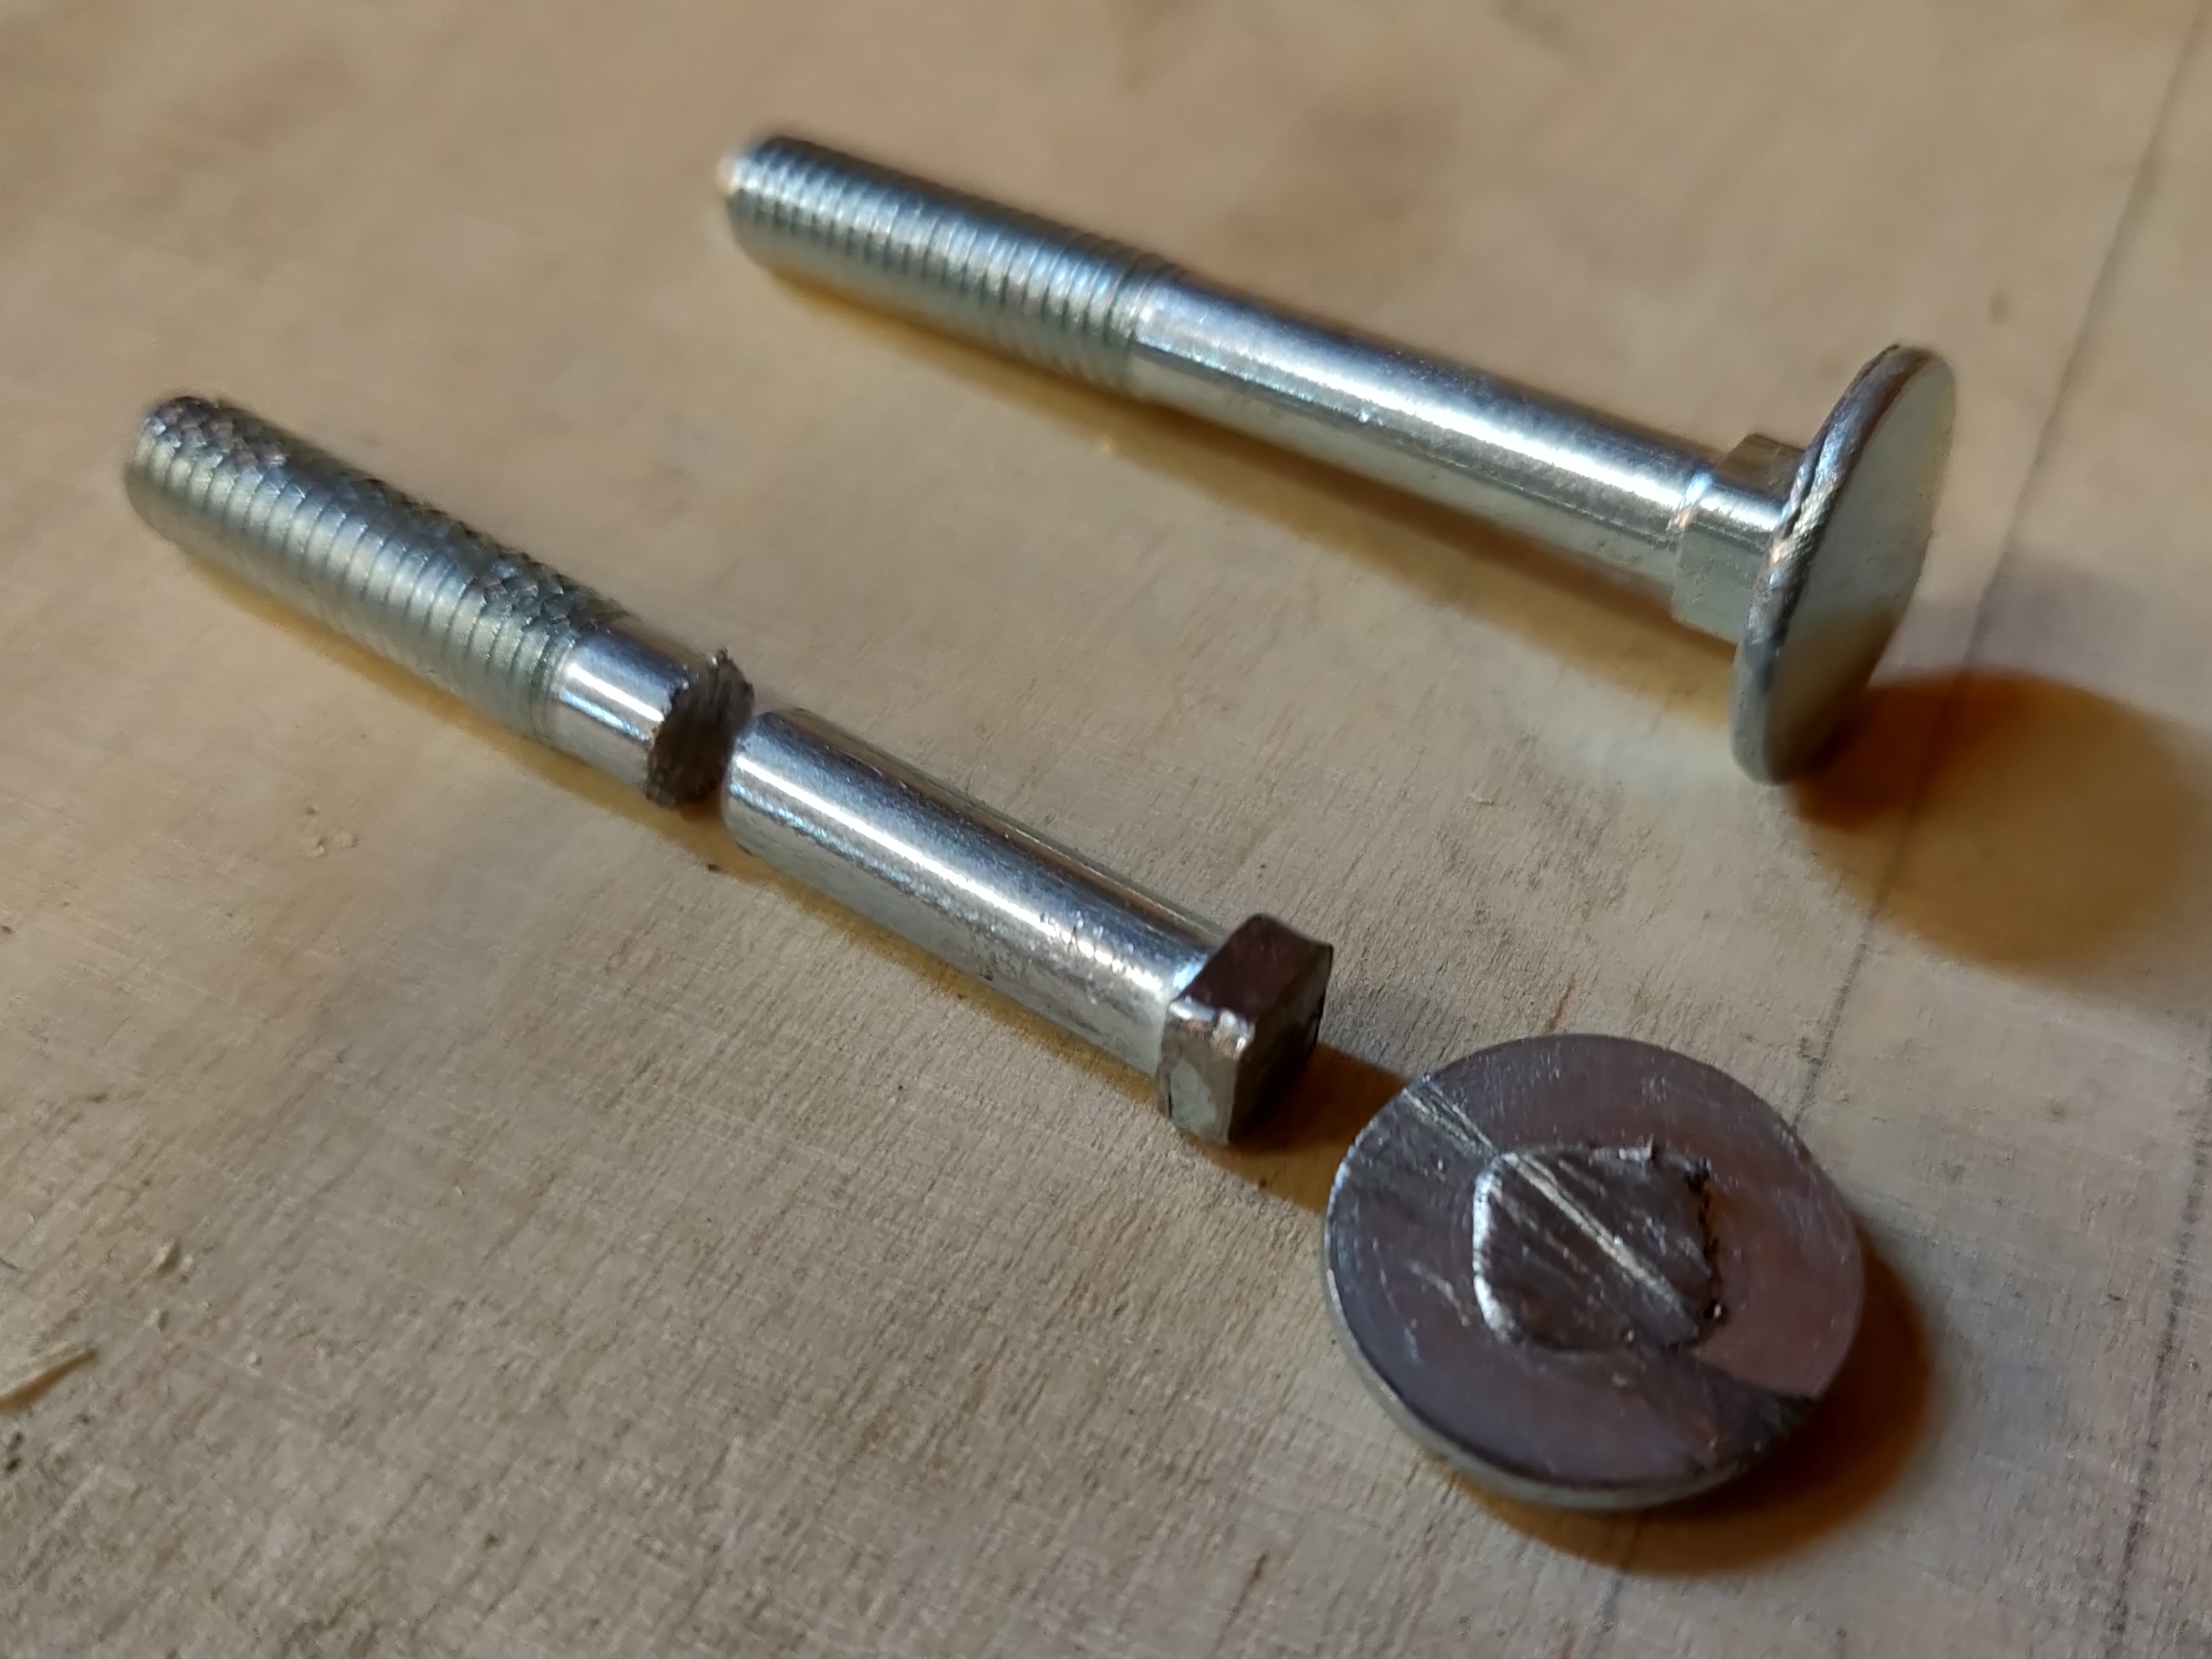
I experimented with different axle types. For a while, I used plastic shafts; later, I cut down carriage bolts (DIN 603) and used their smooth shank as a bearing. That didn’t help either — the plastic was still too flexible. After about half a dozen plastic prototypes, it became clear that the parts had to be made from metal.
So I decided to machine the stops entirely out of aluminum. That was new territory for me, since I had never milled metal on the CNC machine c-nancy before. On the first attempts, the aluminum smeared immediately, chips stuck to the cutting edges, and the tool clogged. Once that happened, the end mill no longer cut but just rubbed until it broke a few seconds later. I destroyed at least three or four cutters before finding settings that worked.
Challenges
These were also the first parts that required machining from three sides. I had expected that to be the hardest part, but it turned out to be the easy one.
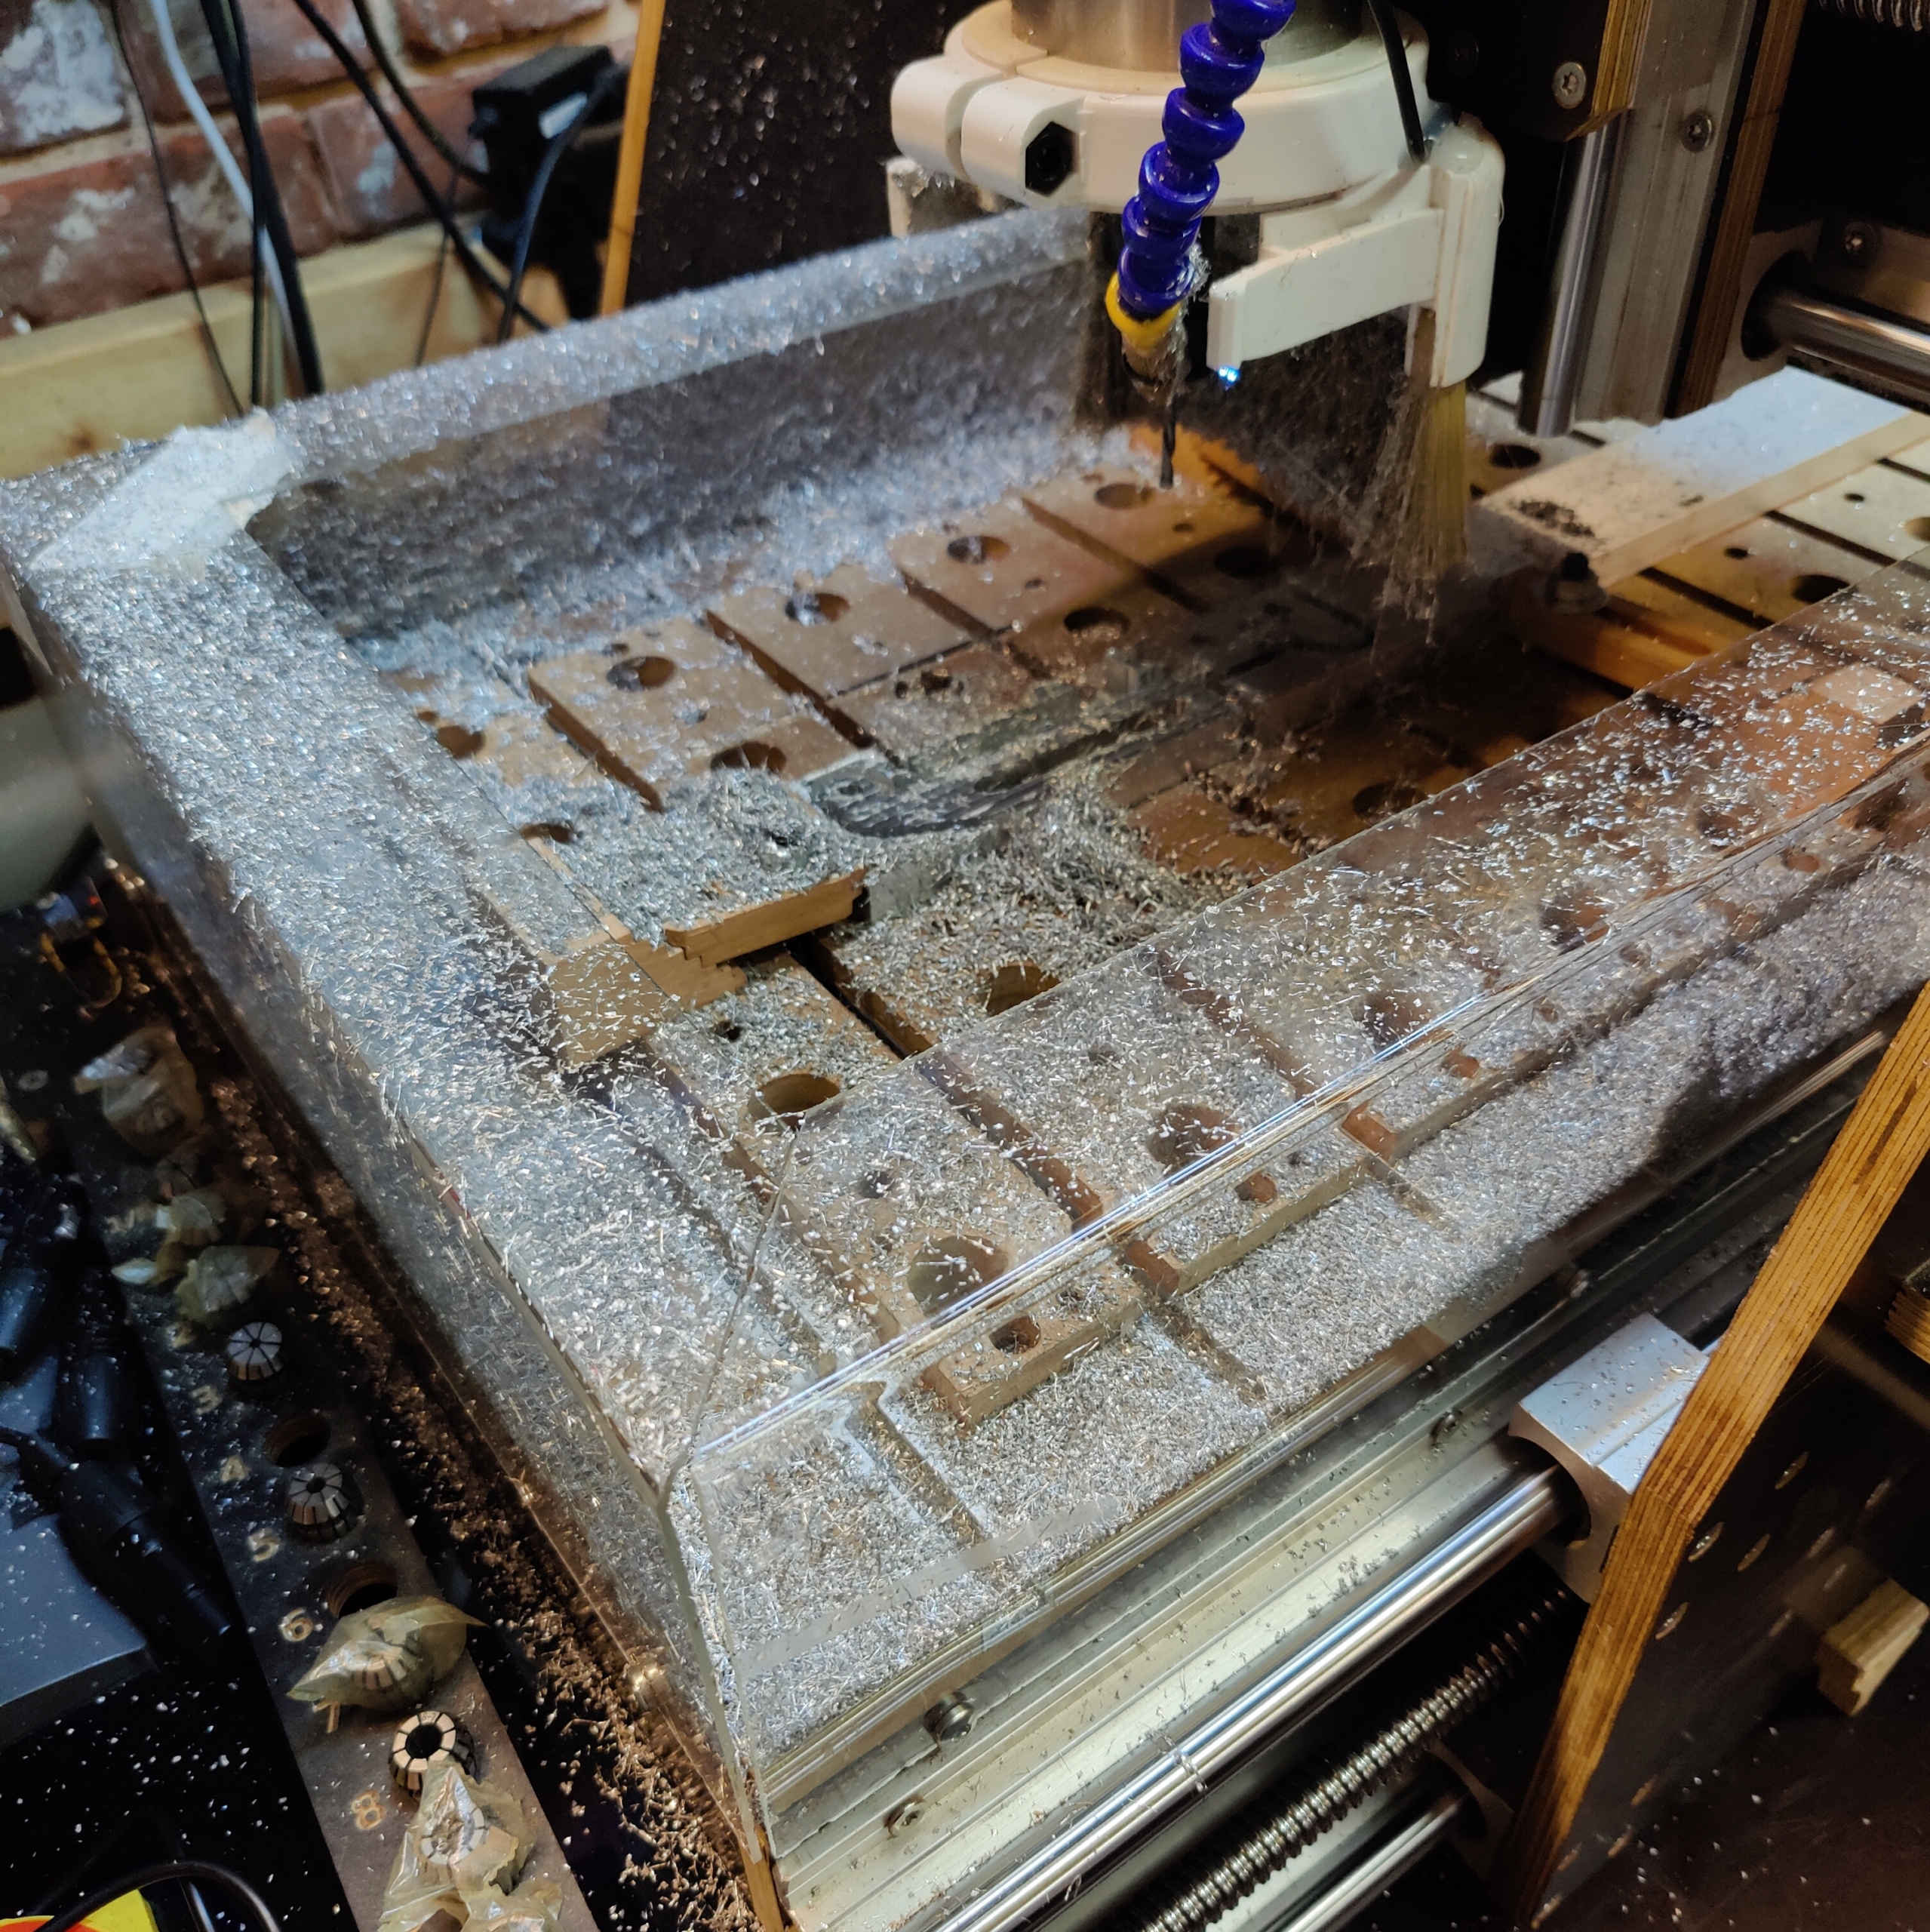
The real problem was heat buildup. When the vertical depth of cut was too high or the feed too fast, the aluminum softened and became sticky. Only after I added a minimum quantity lubrication system did it start working properly. It applied a small amount of oil directly to the cutting edges, added a bit of cooling air, and prevented chips from welding to the tool. I also reduced the depth of cut drastically to about 0.2 millimeters per pass. That allowed slow but consistent material removal.
To keep the flying chips under control, I installed acrylic covers on the machine. That helped keep the workspace reasonably clean and made the work more predictable. Each part took over an hour of machine time, but the result was finally usable.
Result
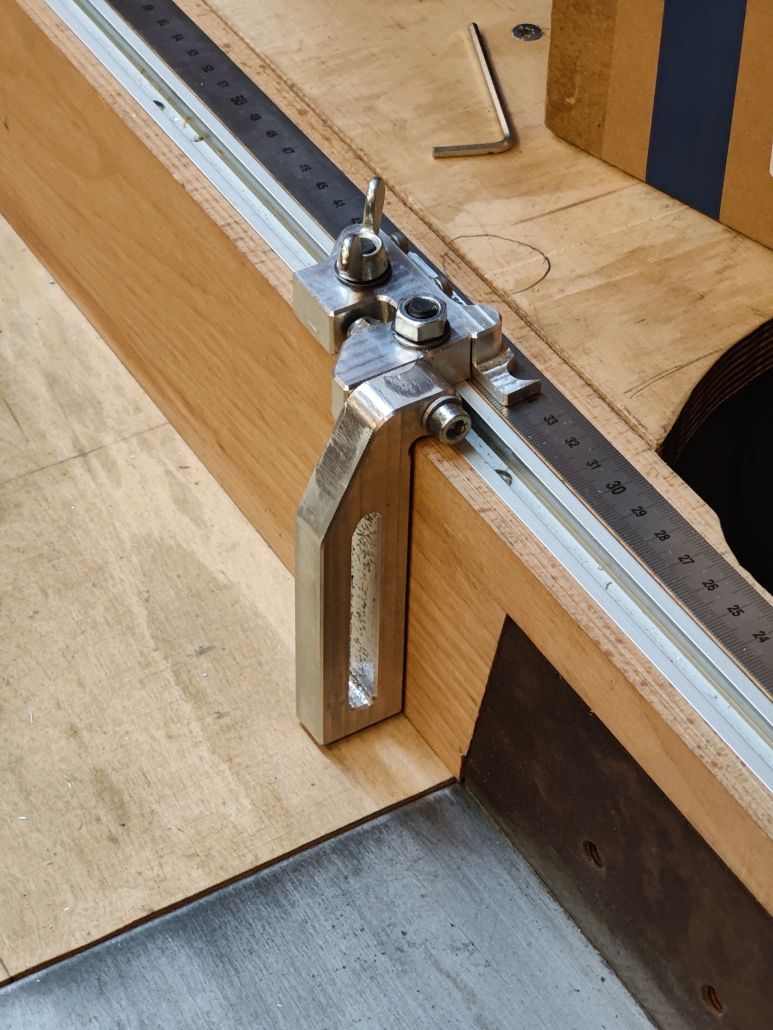
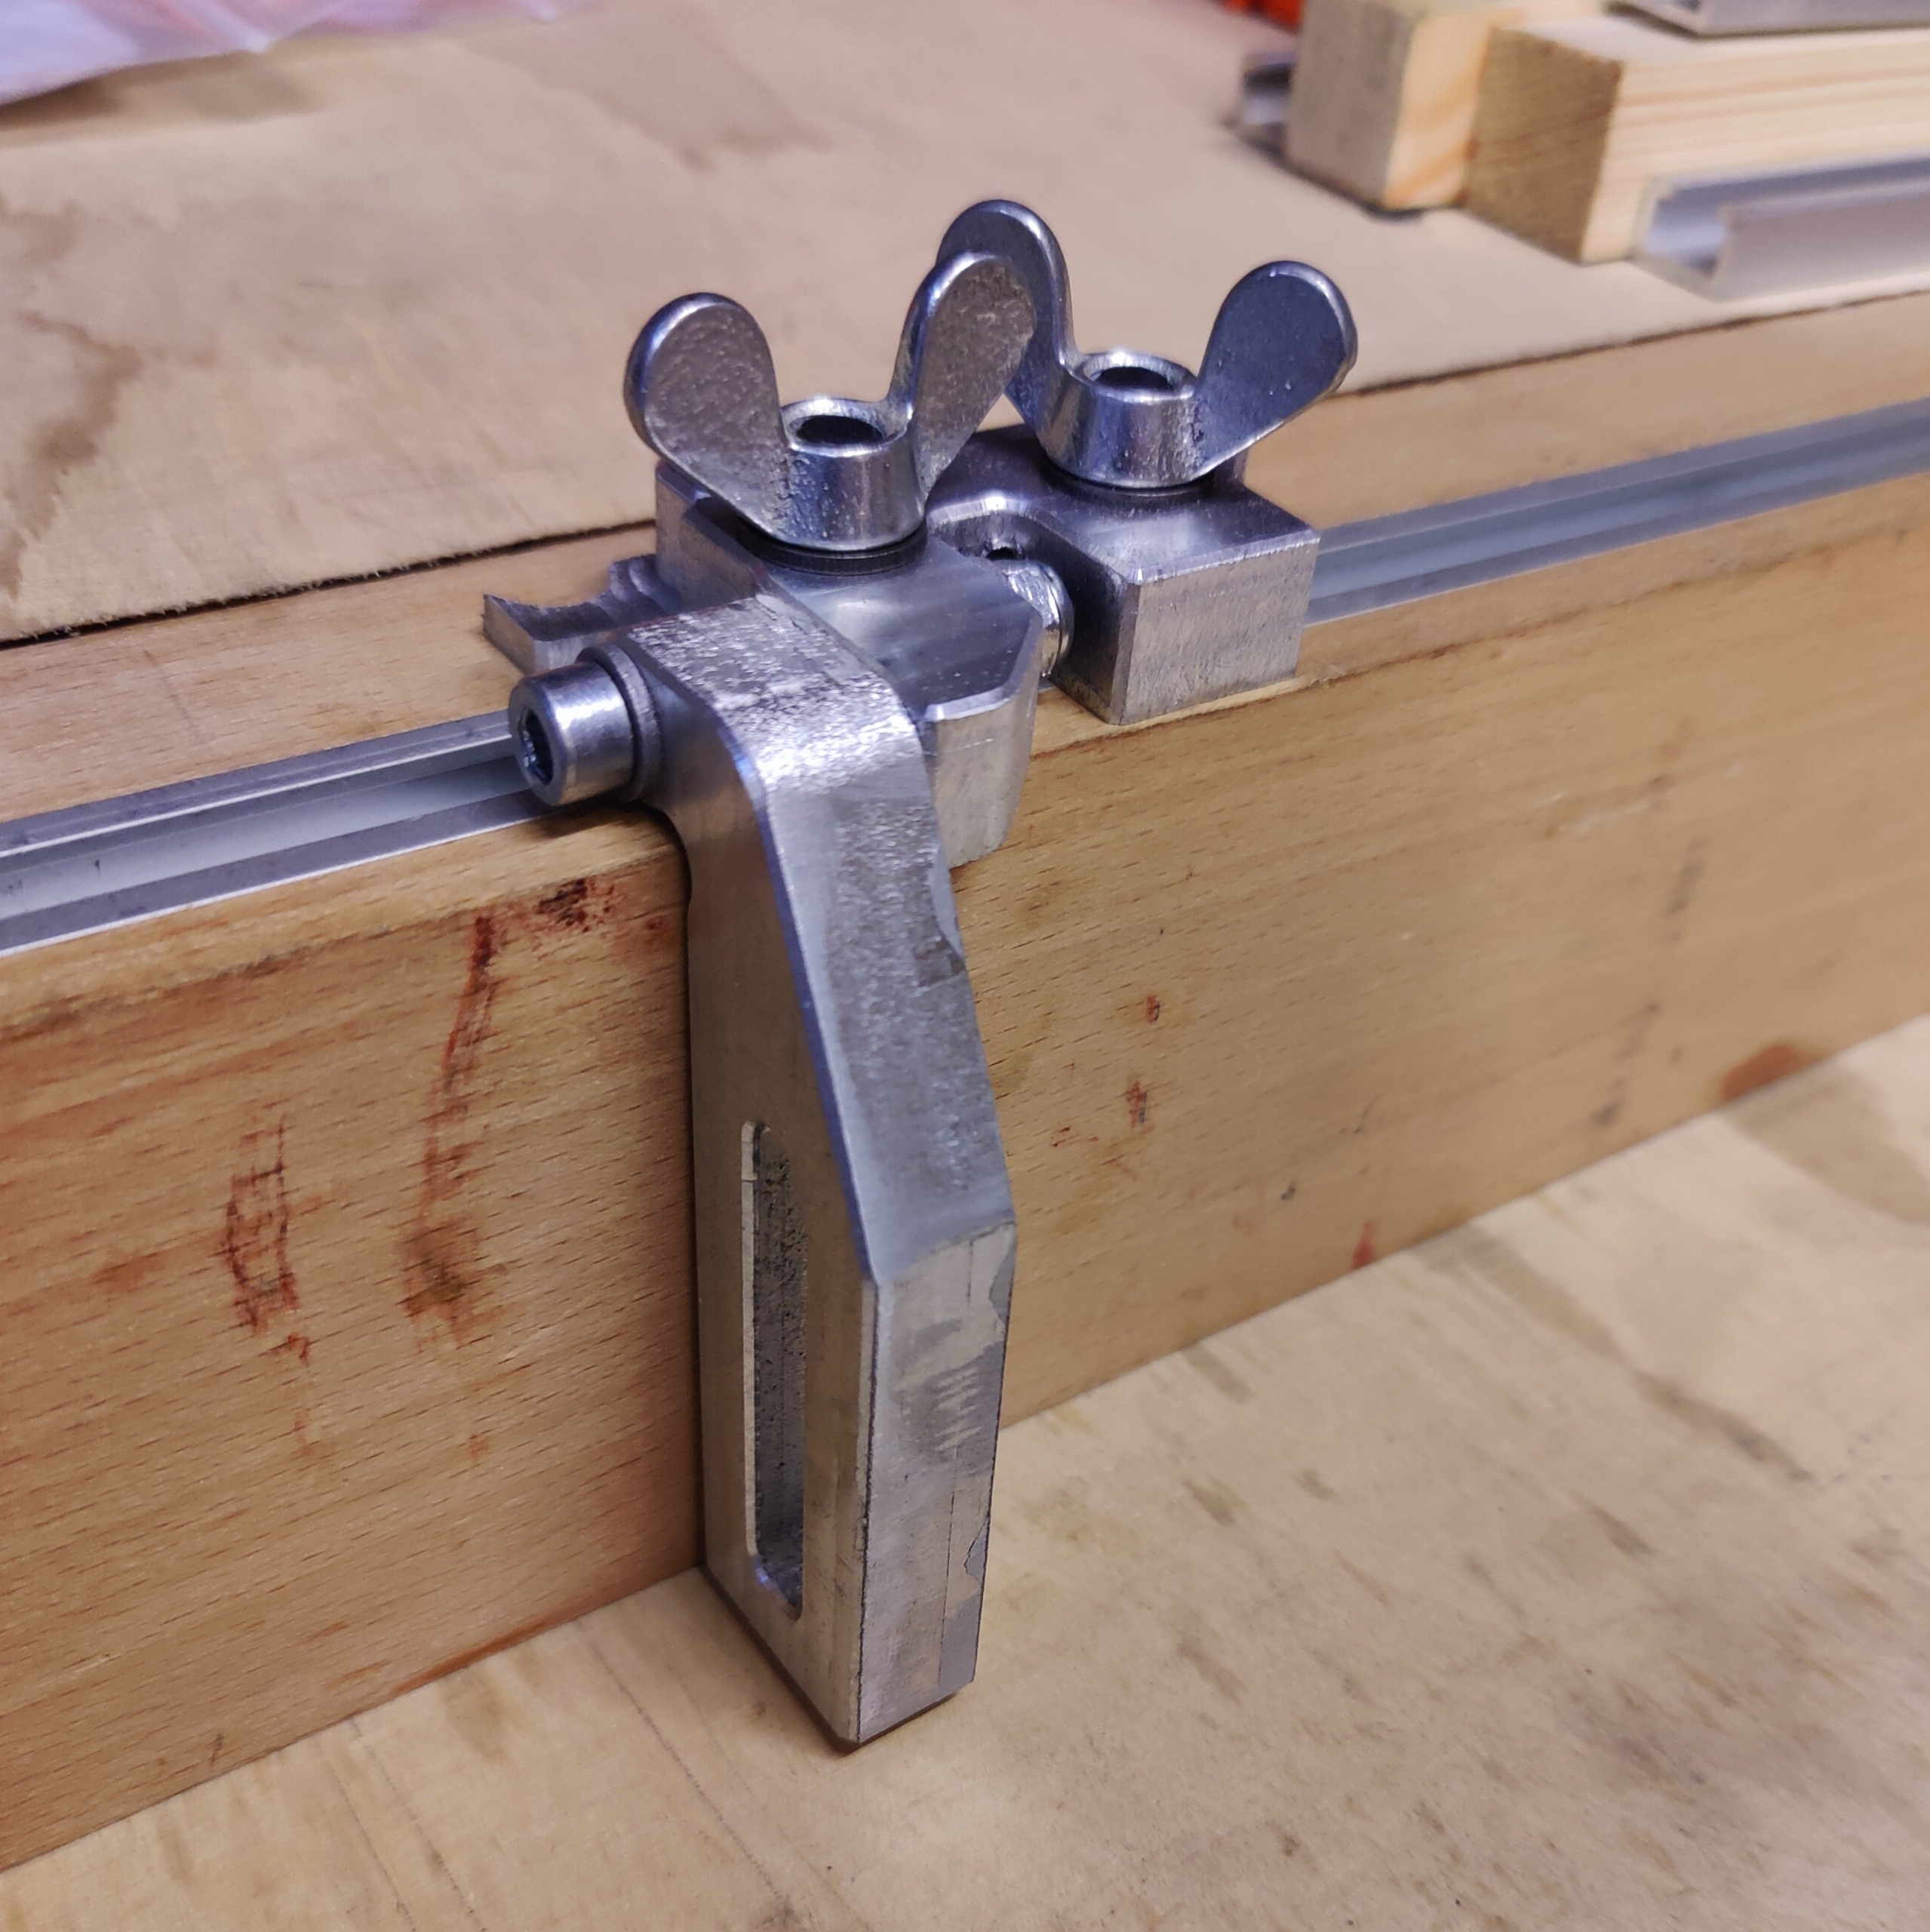
The finished stops are made entirely of aluminum and move smoothly with very little play in the guide rail. They can be adjusted accurately to within a few tenths of a millimeter. Unlike the early plastic versions, these have an additional small pointer that shows the position on the ruler behind the rail. The pointer can be adjusted independently from the stop by up to six millimeters, which allows compensation for the saw blade’s kerf or other small inaccuracies. It’s fixed with two small screws that can be loosened, repositioned, and tightened again, making calibration straightforward.
With the new aluminum stops, the miter saw station is now fully operational. The saw can repeat precise lengths without remeasuring or readjusting. Milling aluminum was a valuable learning step but also showed that the CNC machine is at the edge of what it can handle. It wasn’t really designed for non-ferrous metals. With very small steps and a lot of patience it works — but only under ideal conditions. I’m glad it does, and I learned a lot along the way.
Photo of the Result

")


